I have been producing prints in a darkroom for over 10 years I still get a thrill from seeing the image appearing in the developing tray. It's much more satisfying than pressing print on a computer. I've also been exploring new techniques to incorporate colour into my work. I'm still experimenting with these ideas and will share them when I am pleased with the results.
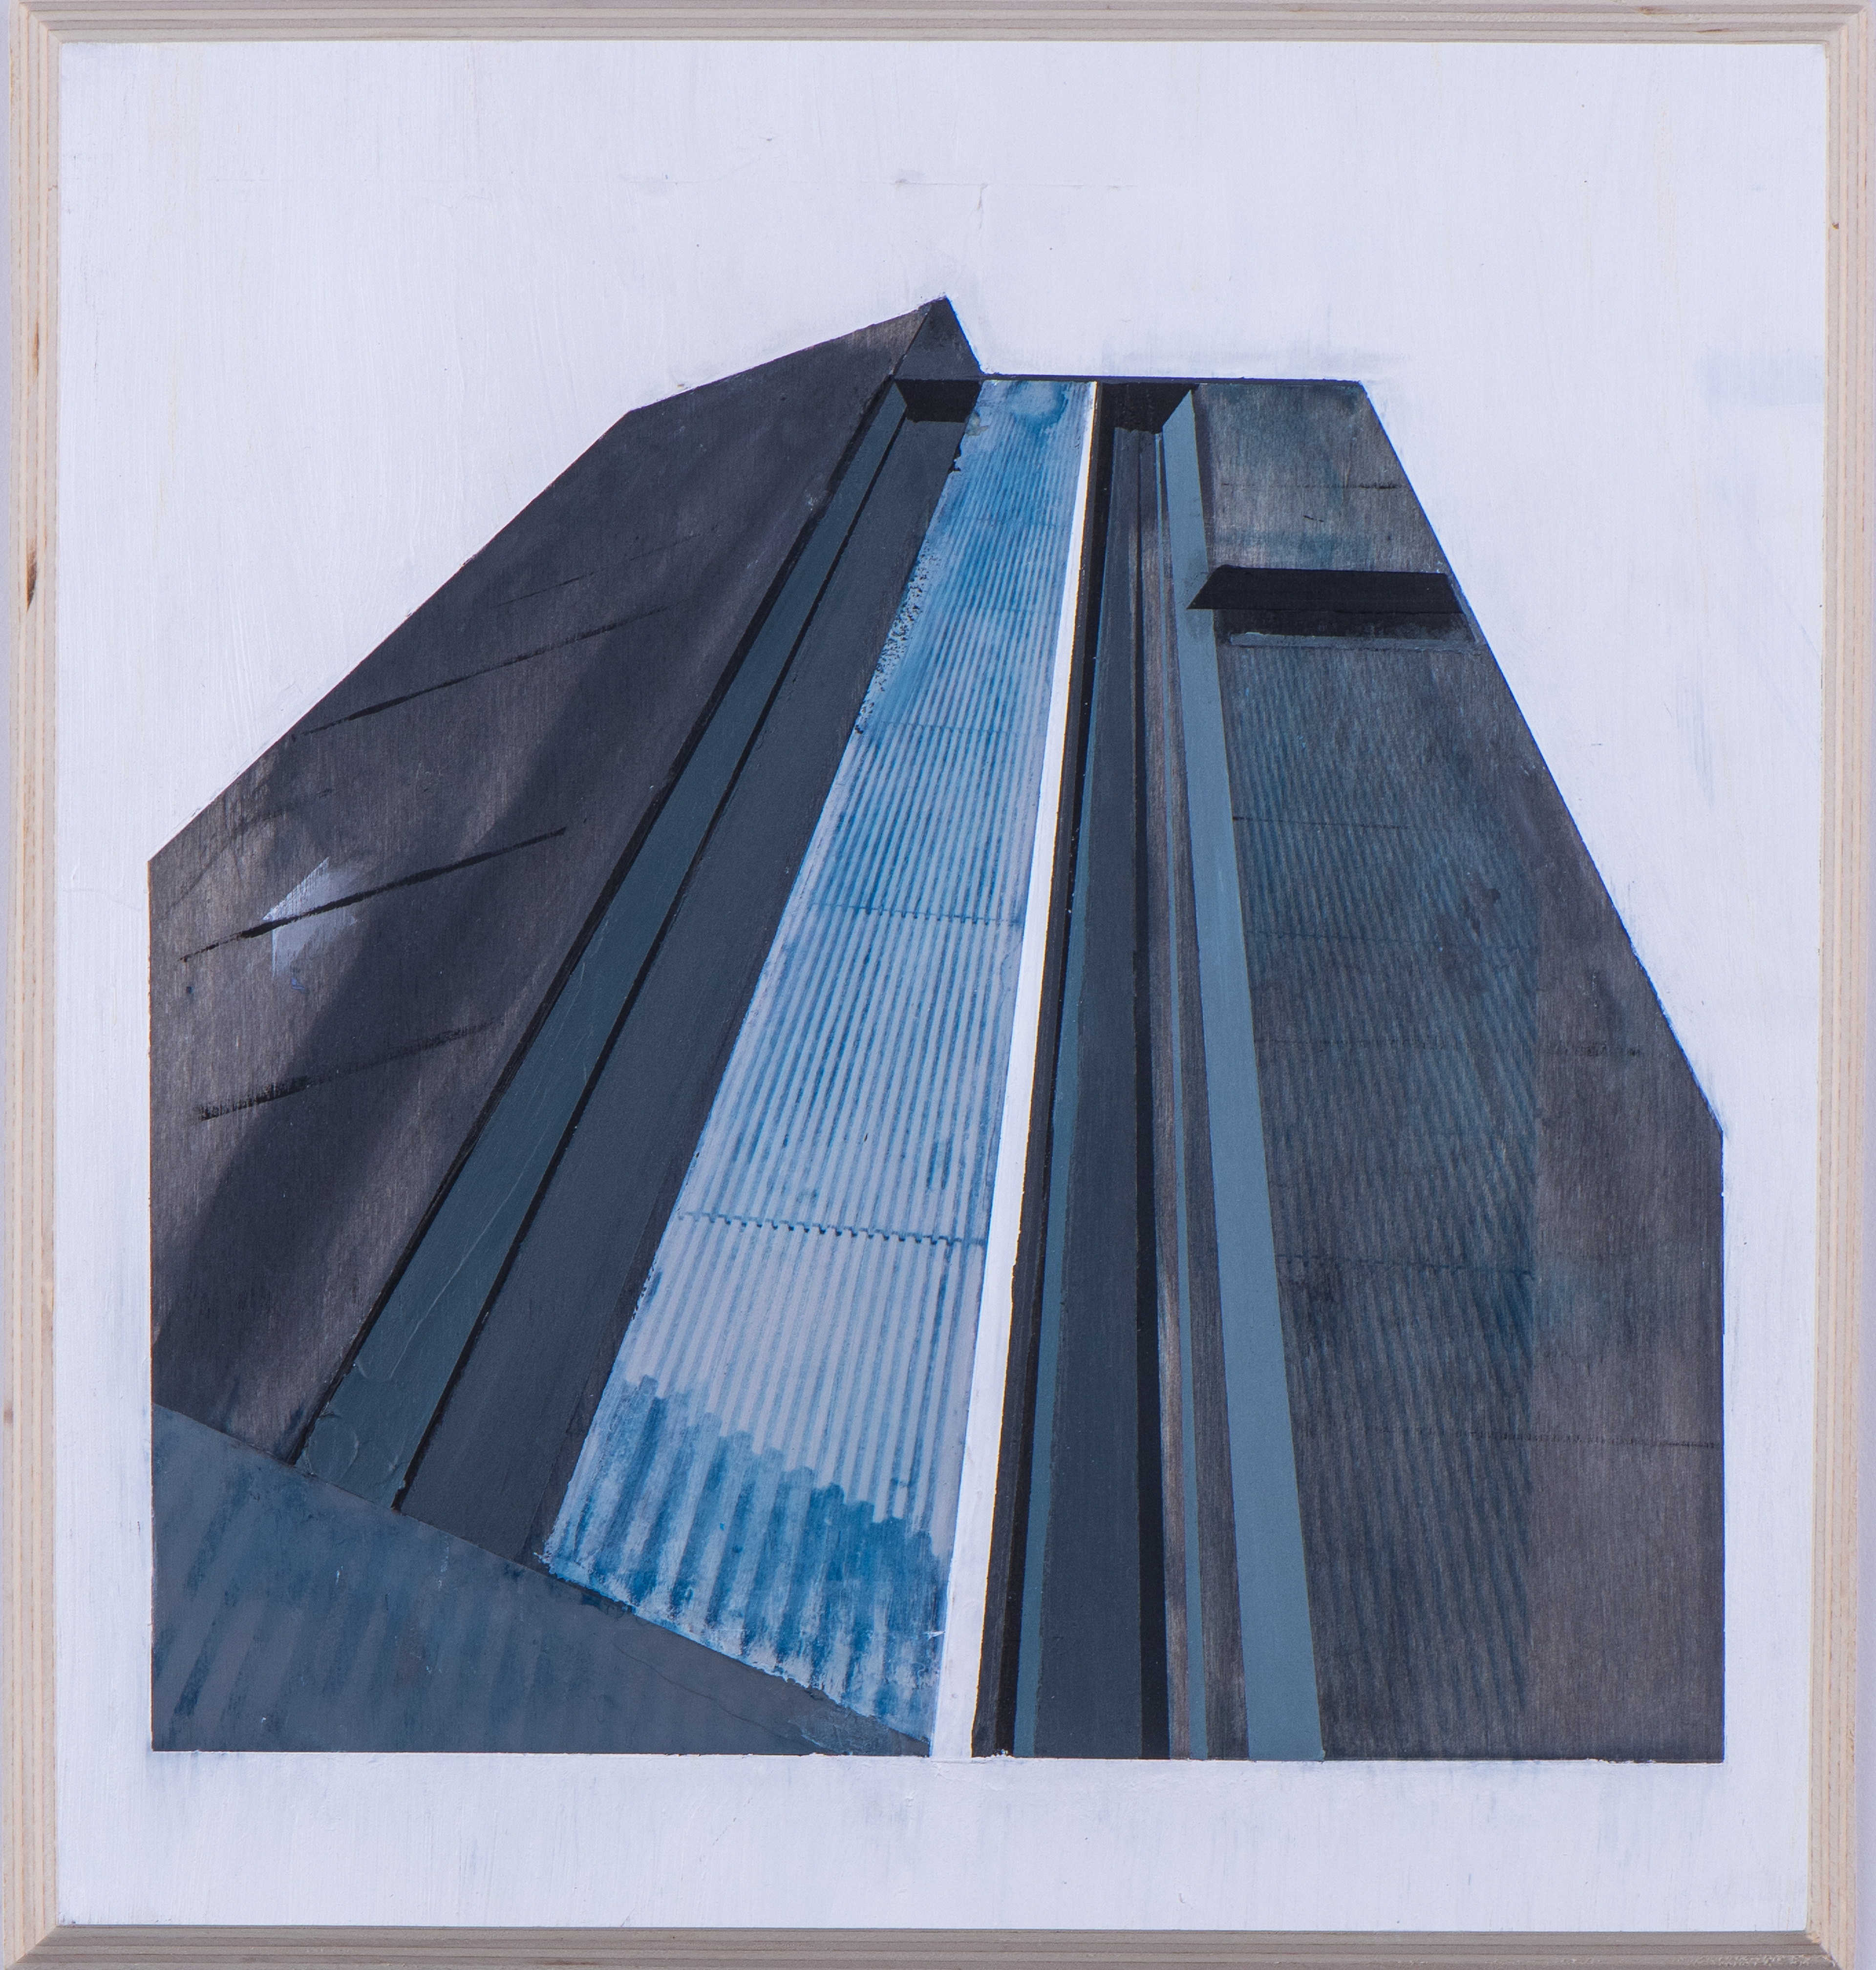
High Pint Bradford
York

Close Up Bradford High point
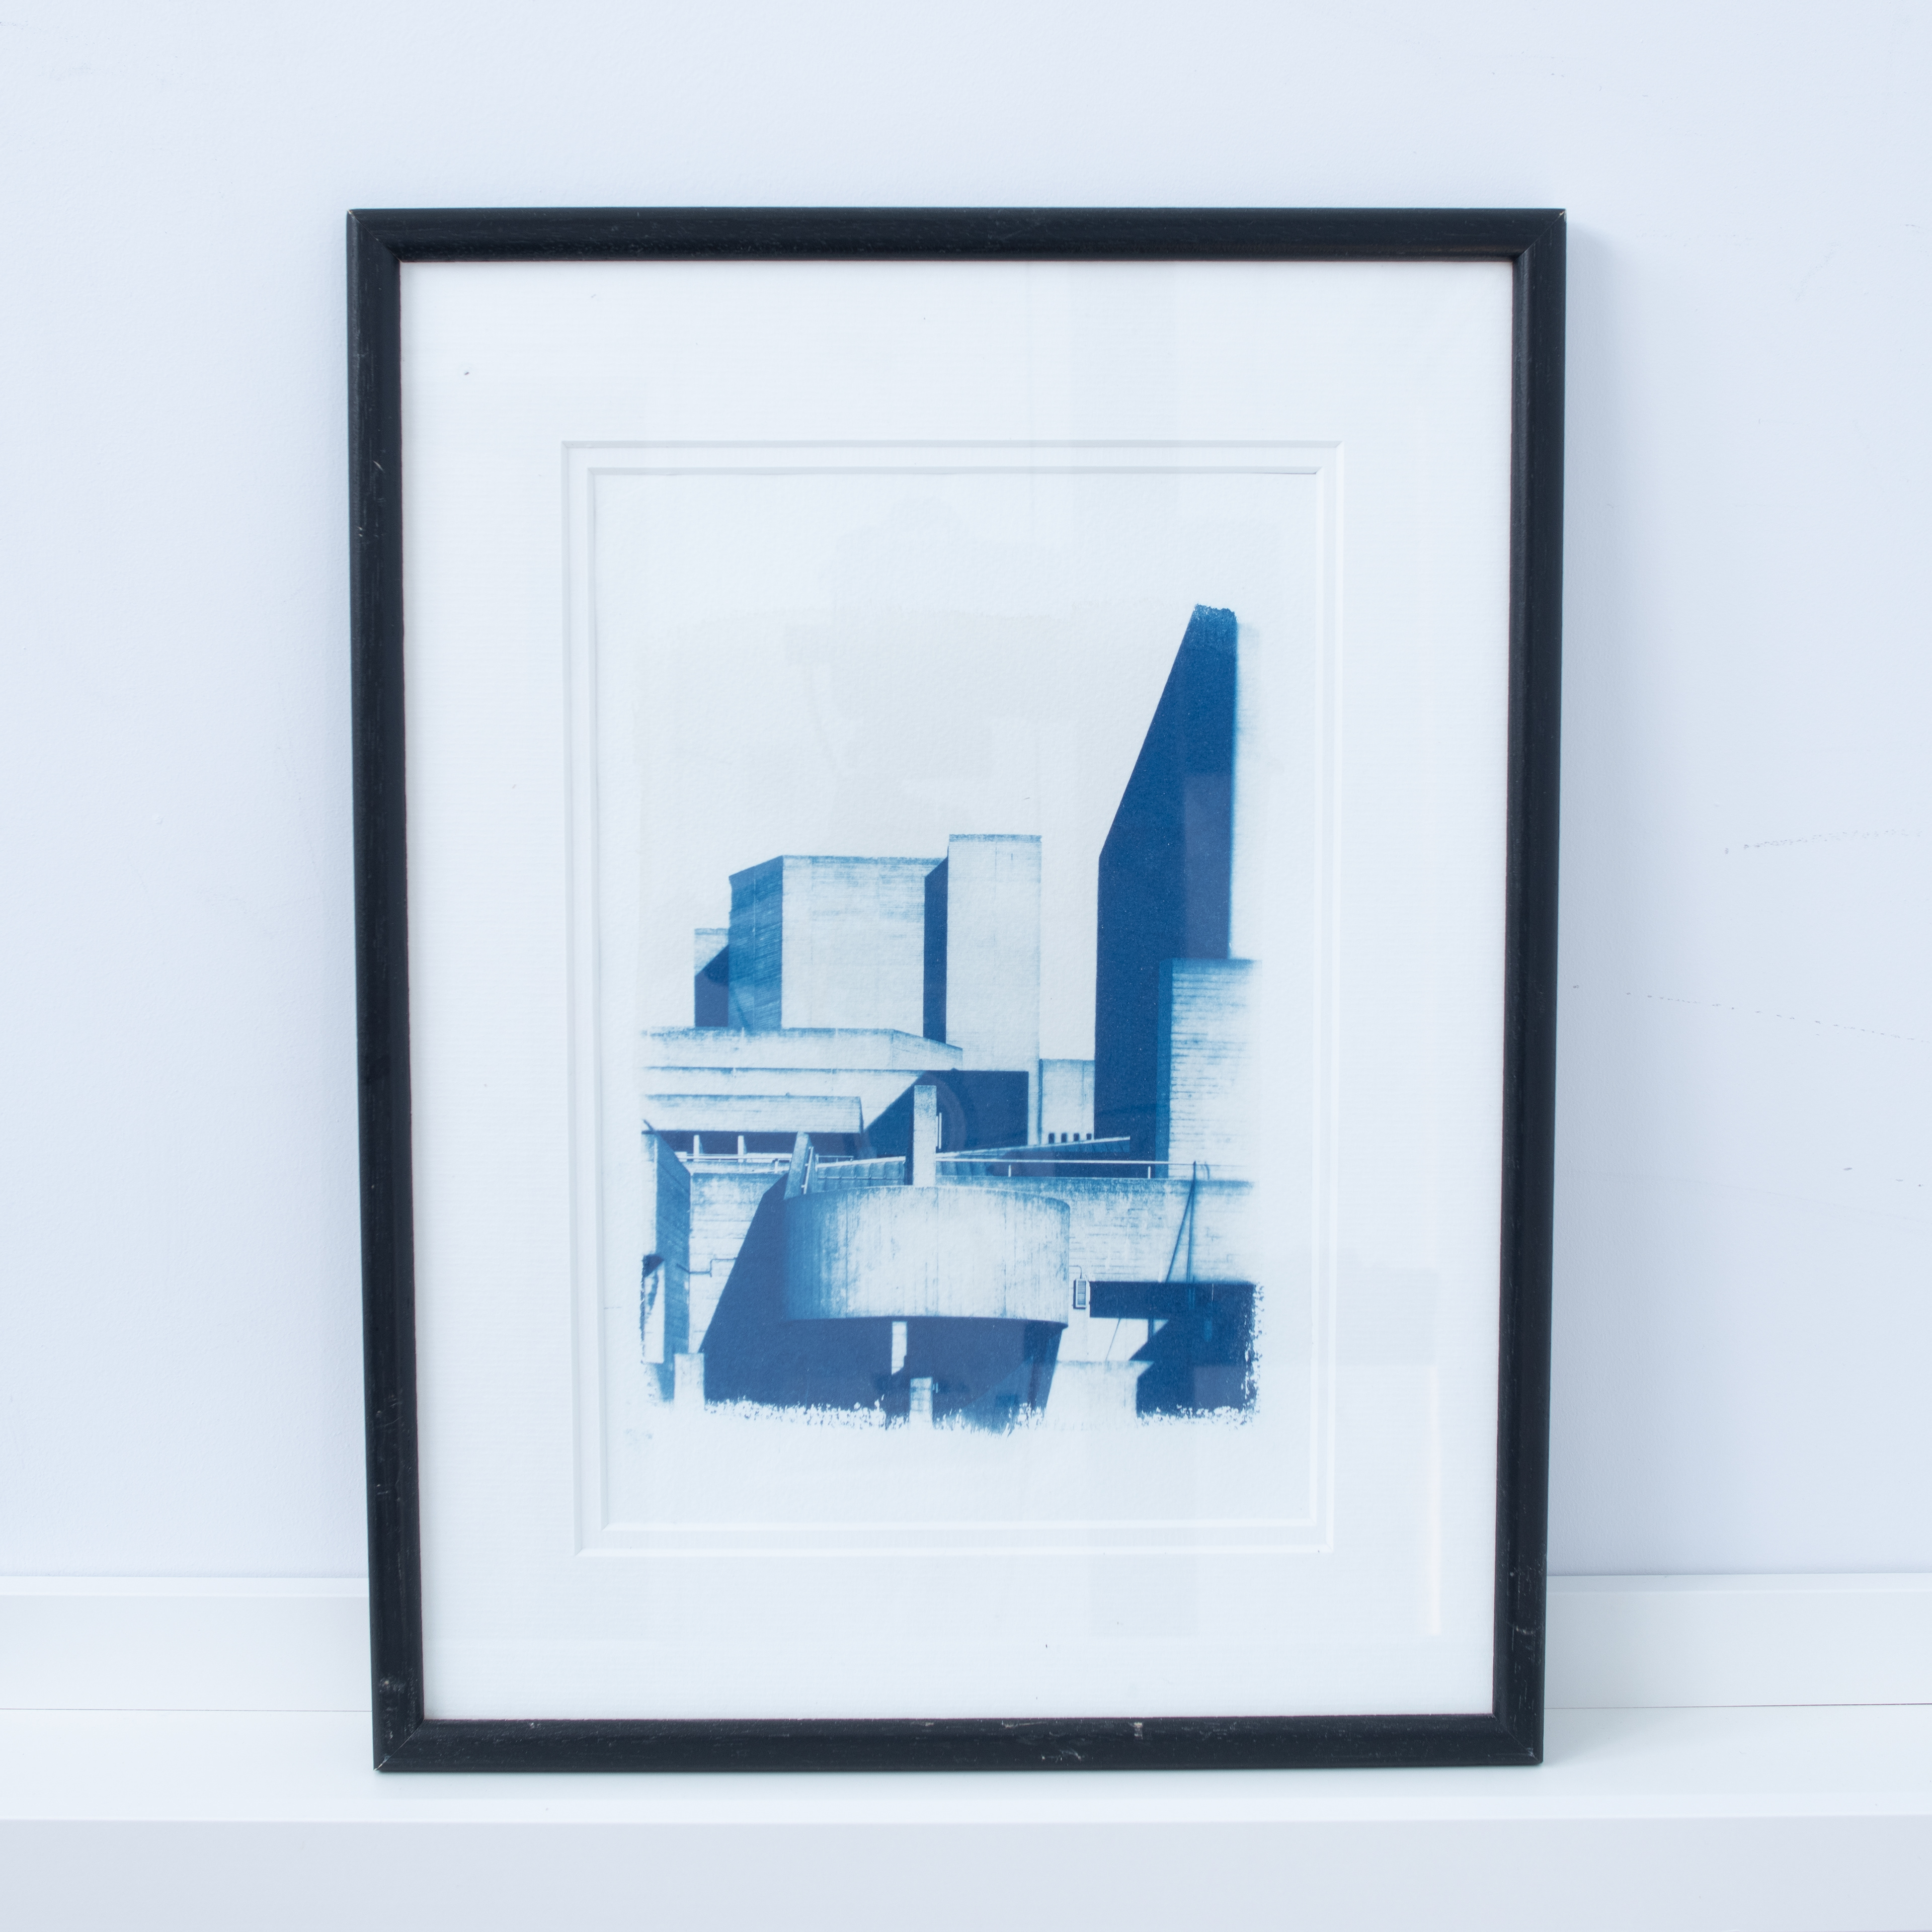
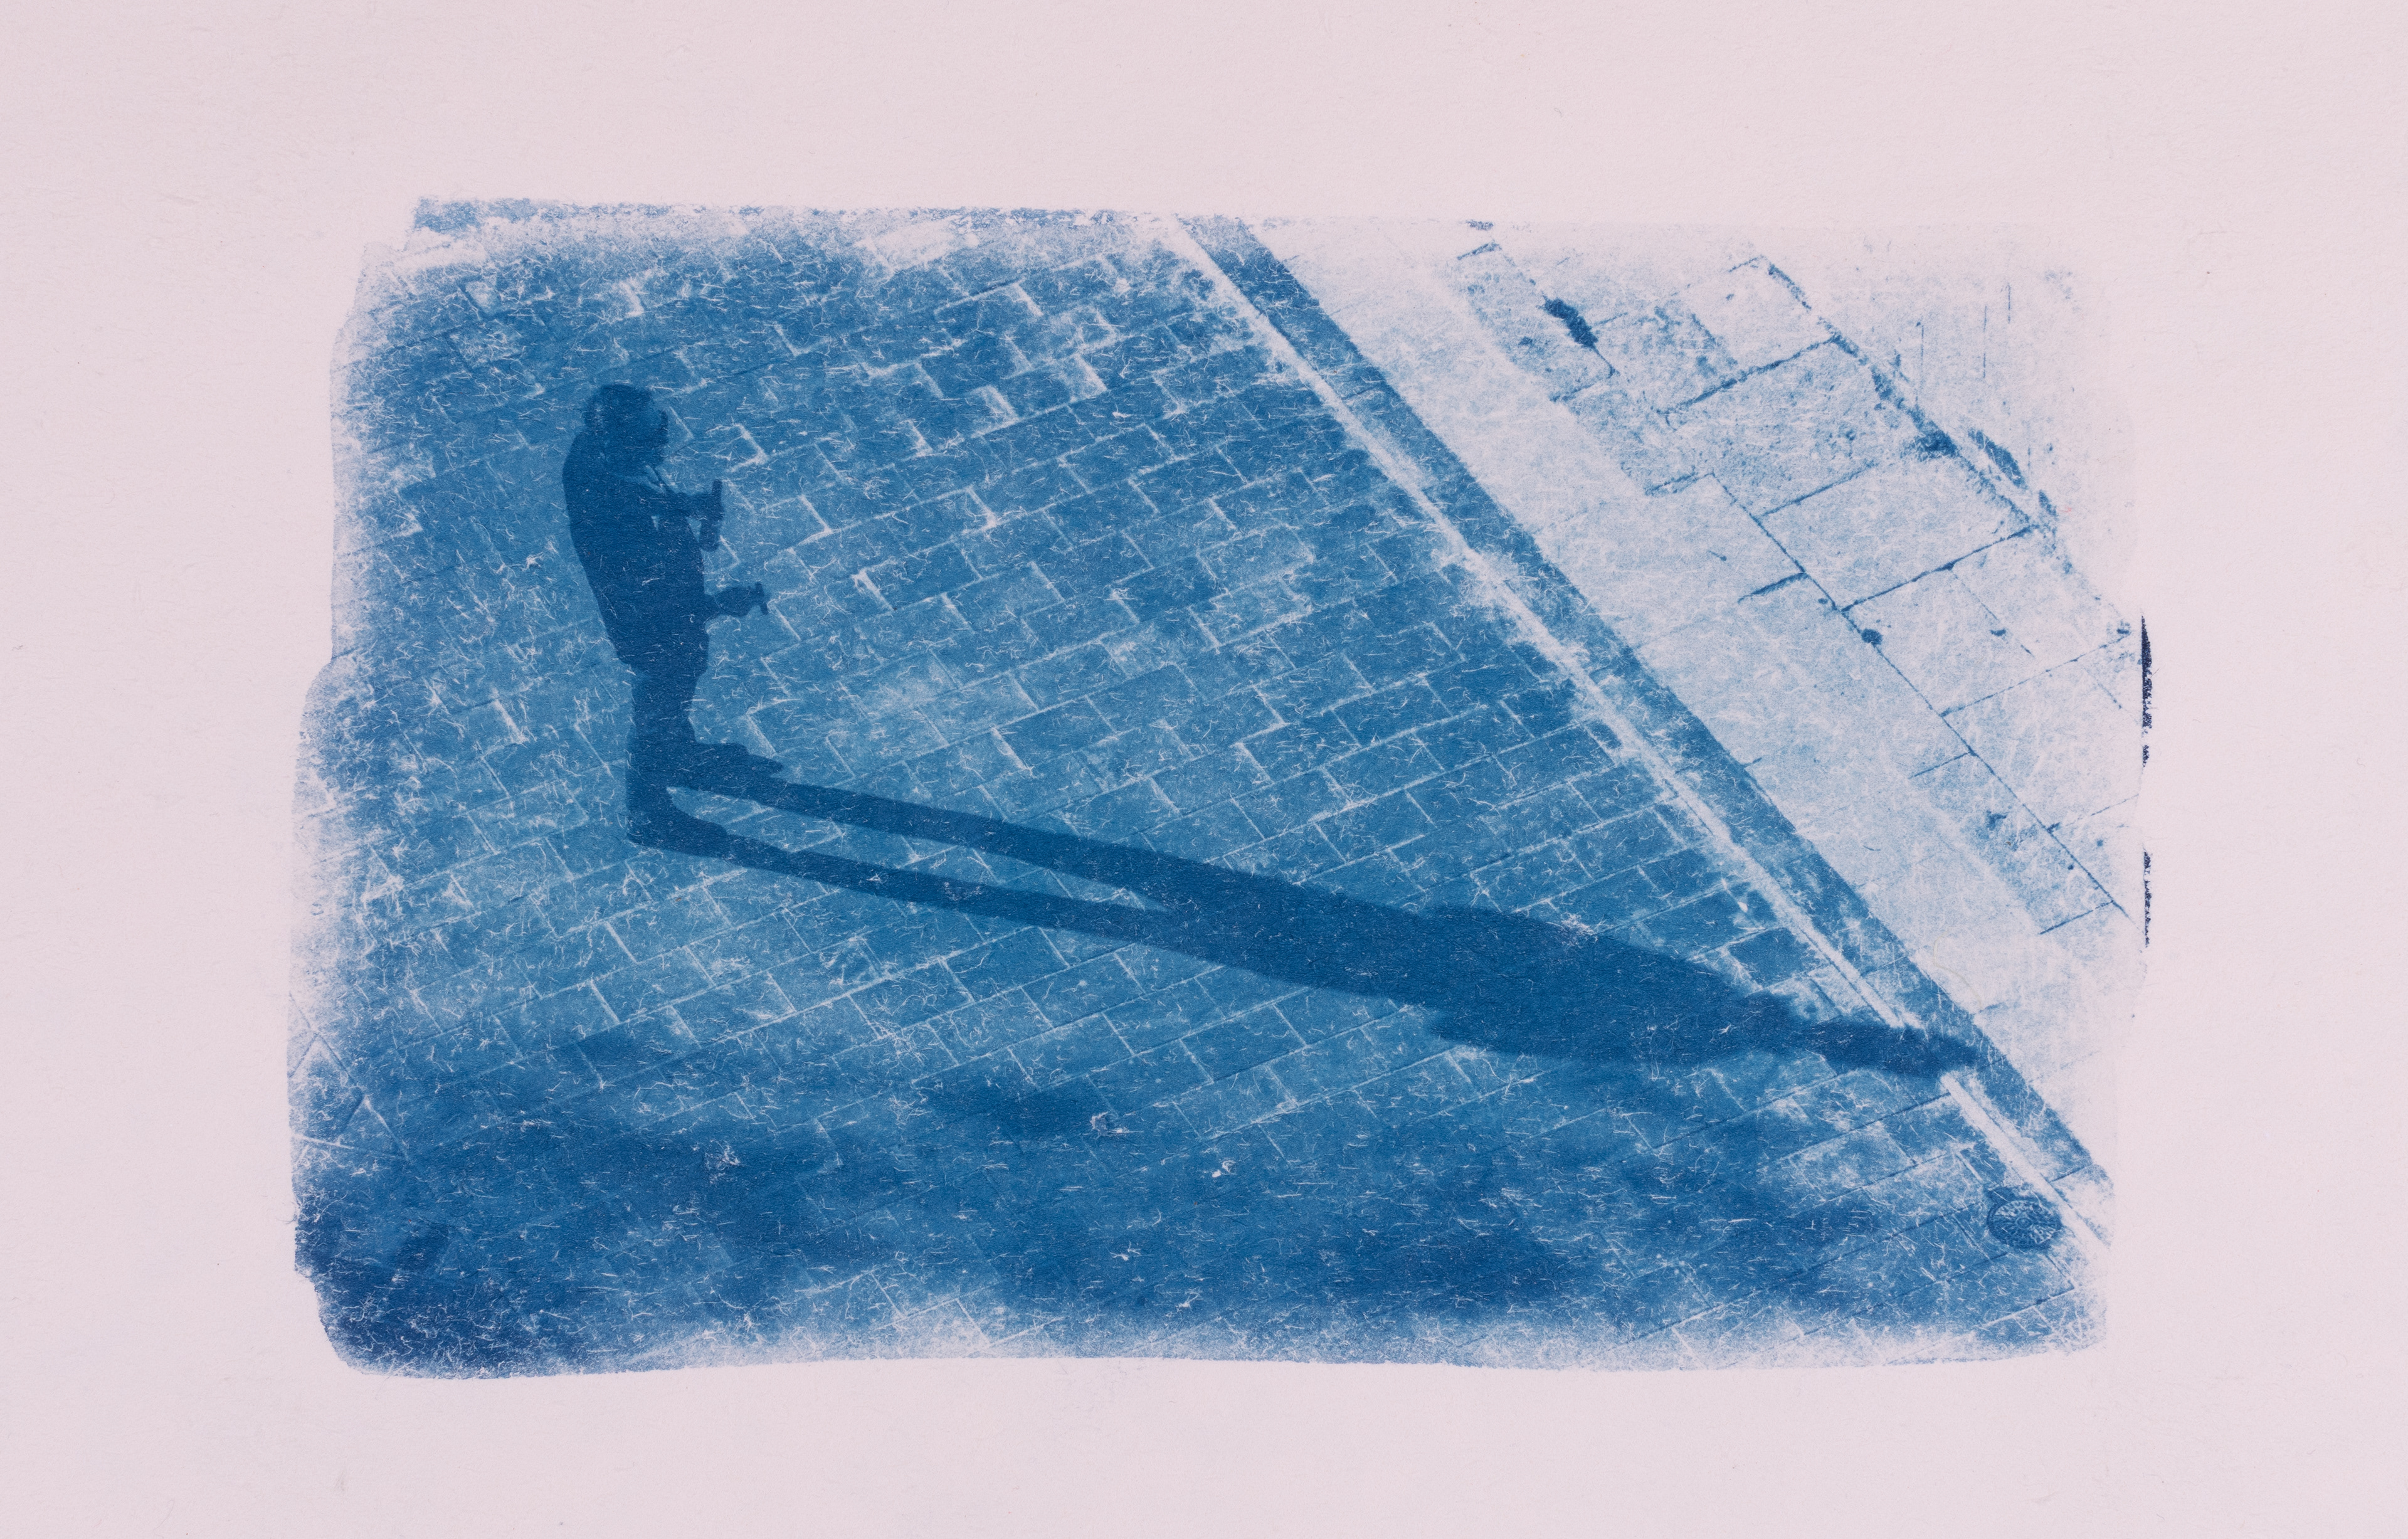
Hayward Gallery Cyanotype

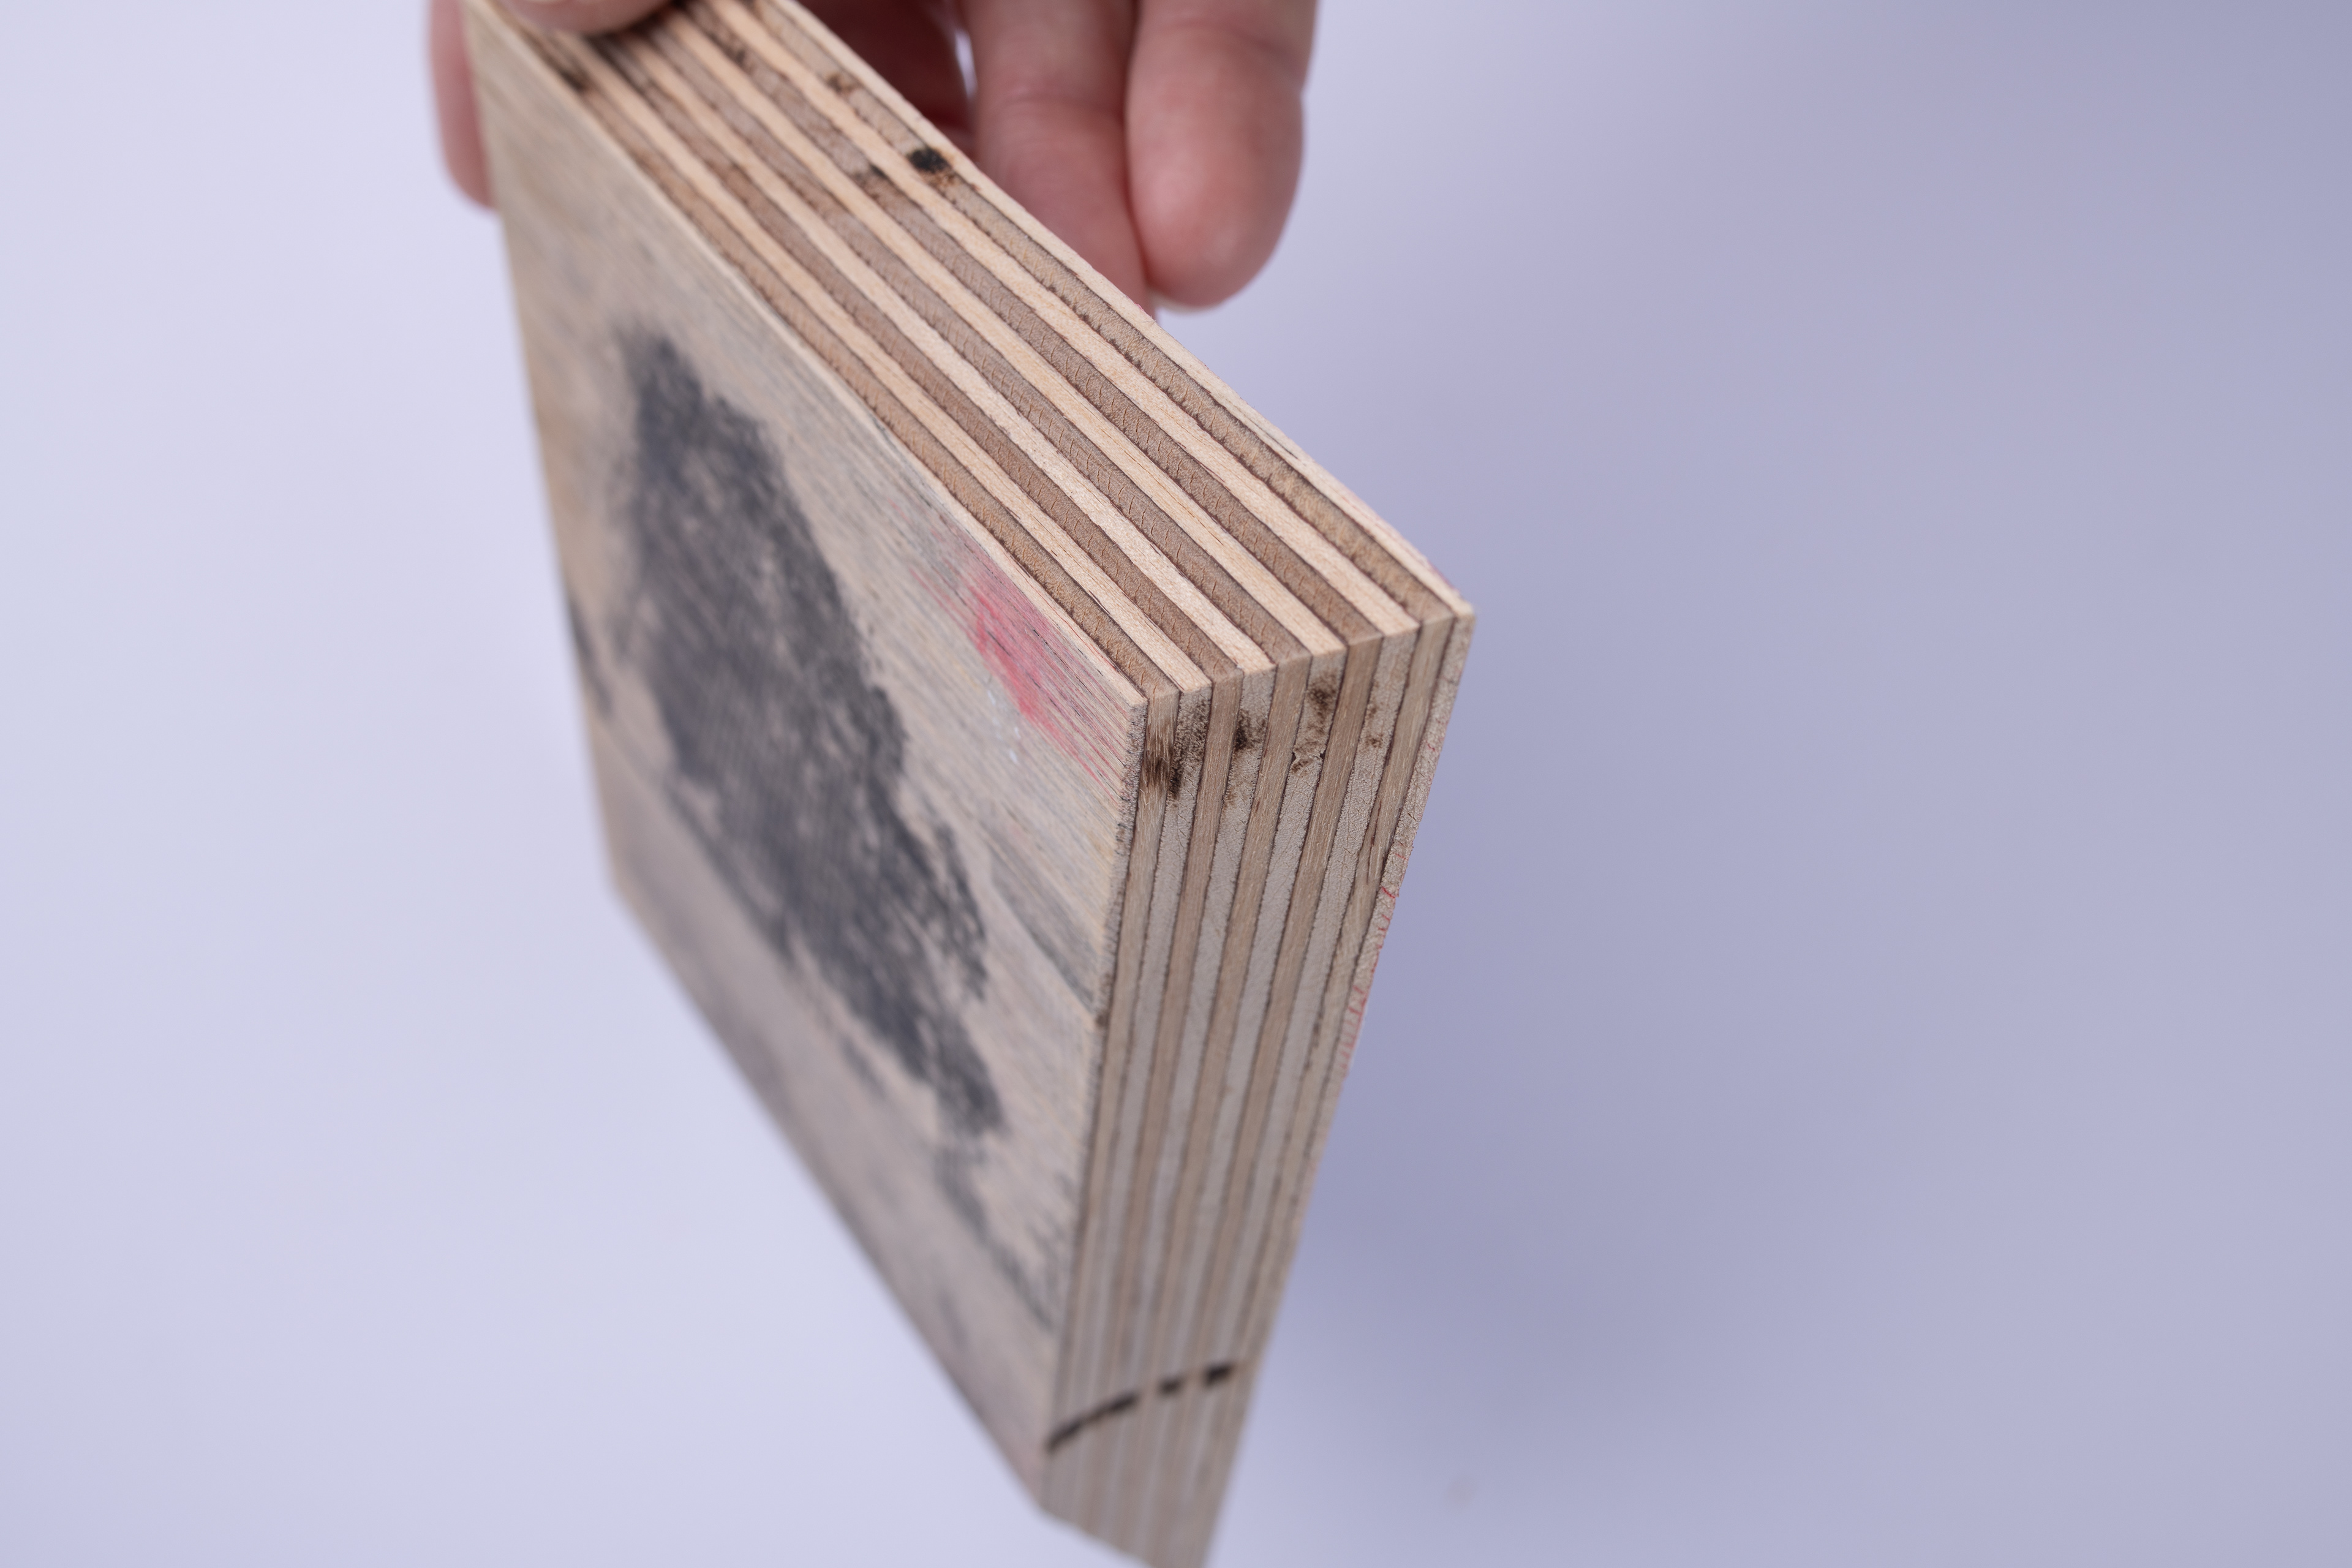
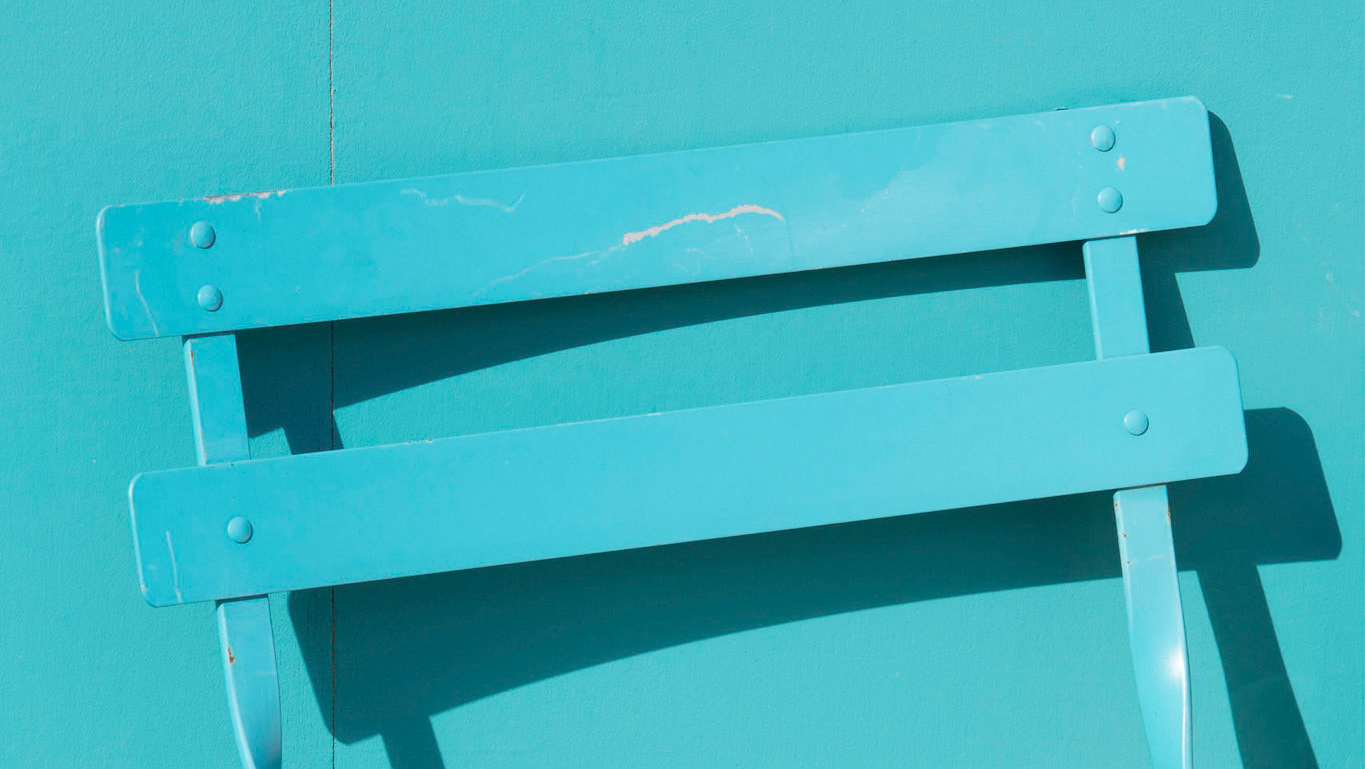
Side of chamfered Cut

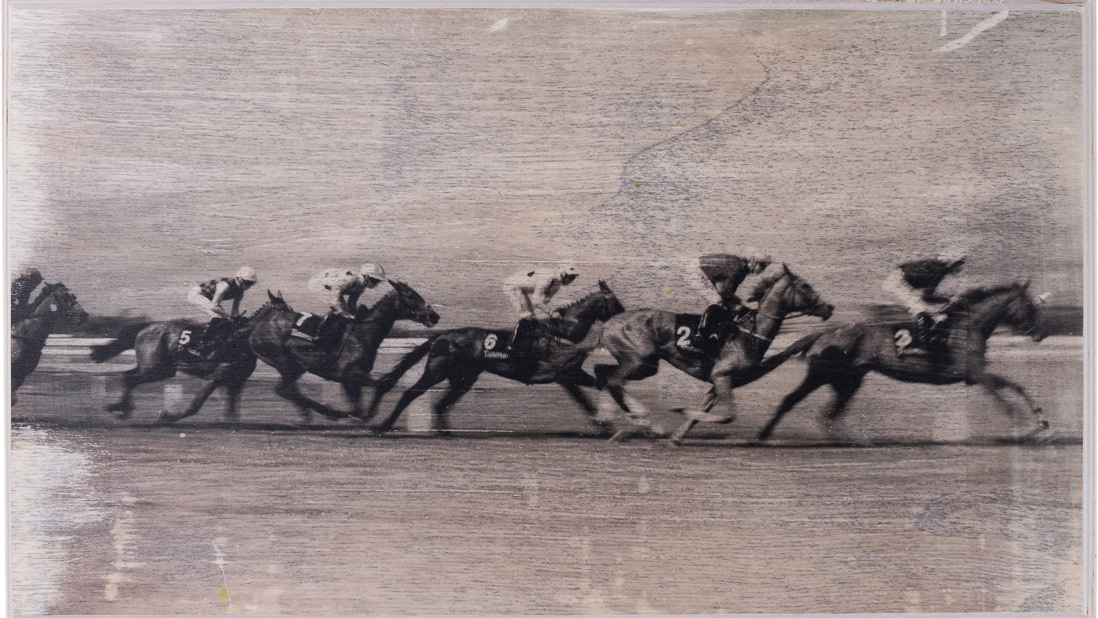
Race Horse Blur

Winter Wakefield

Bishy Tree

Vintage Motorbike Race

Central Hall York

Trees on Wood

Fossgate Double Exposure
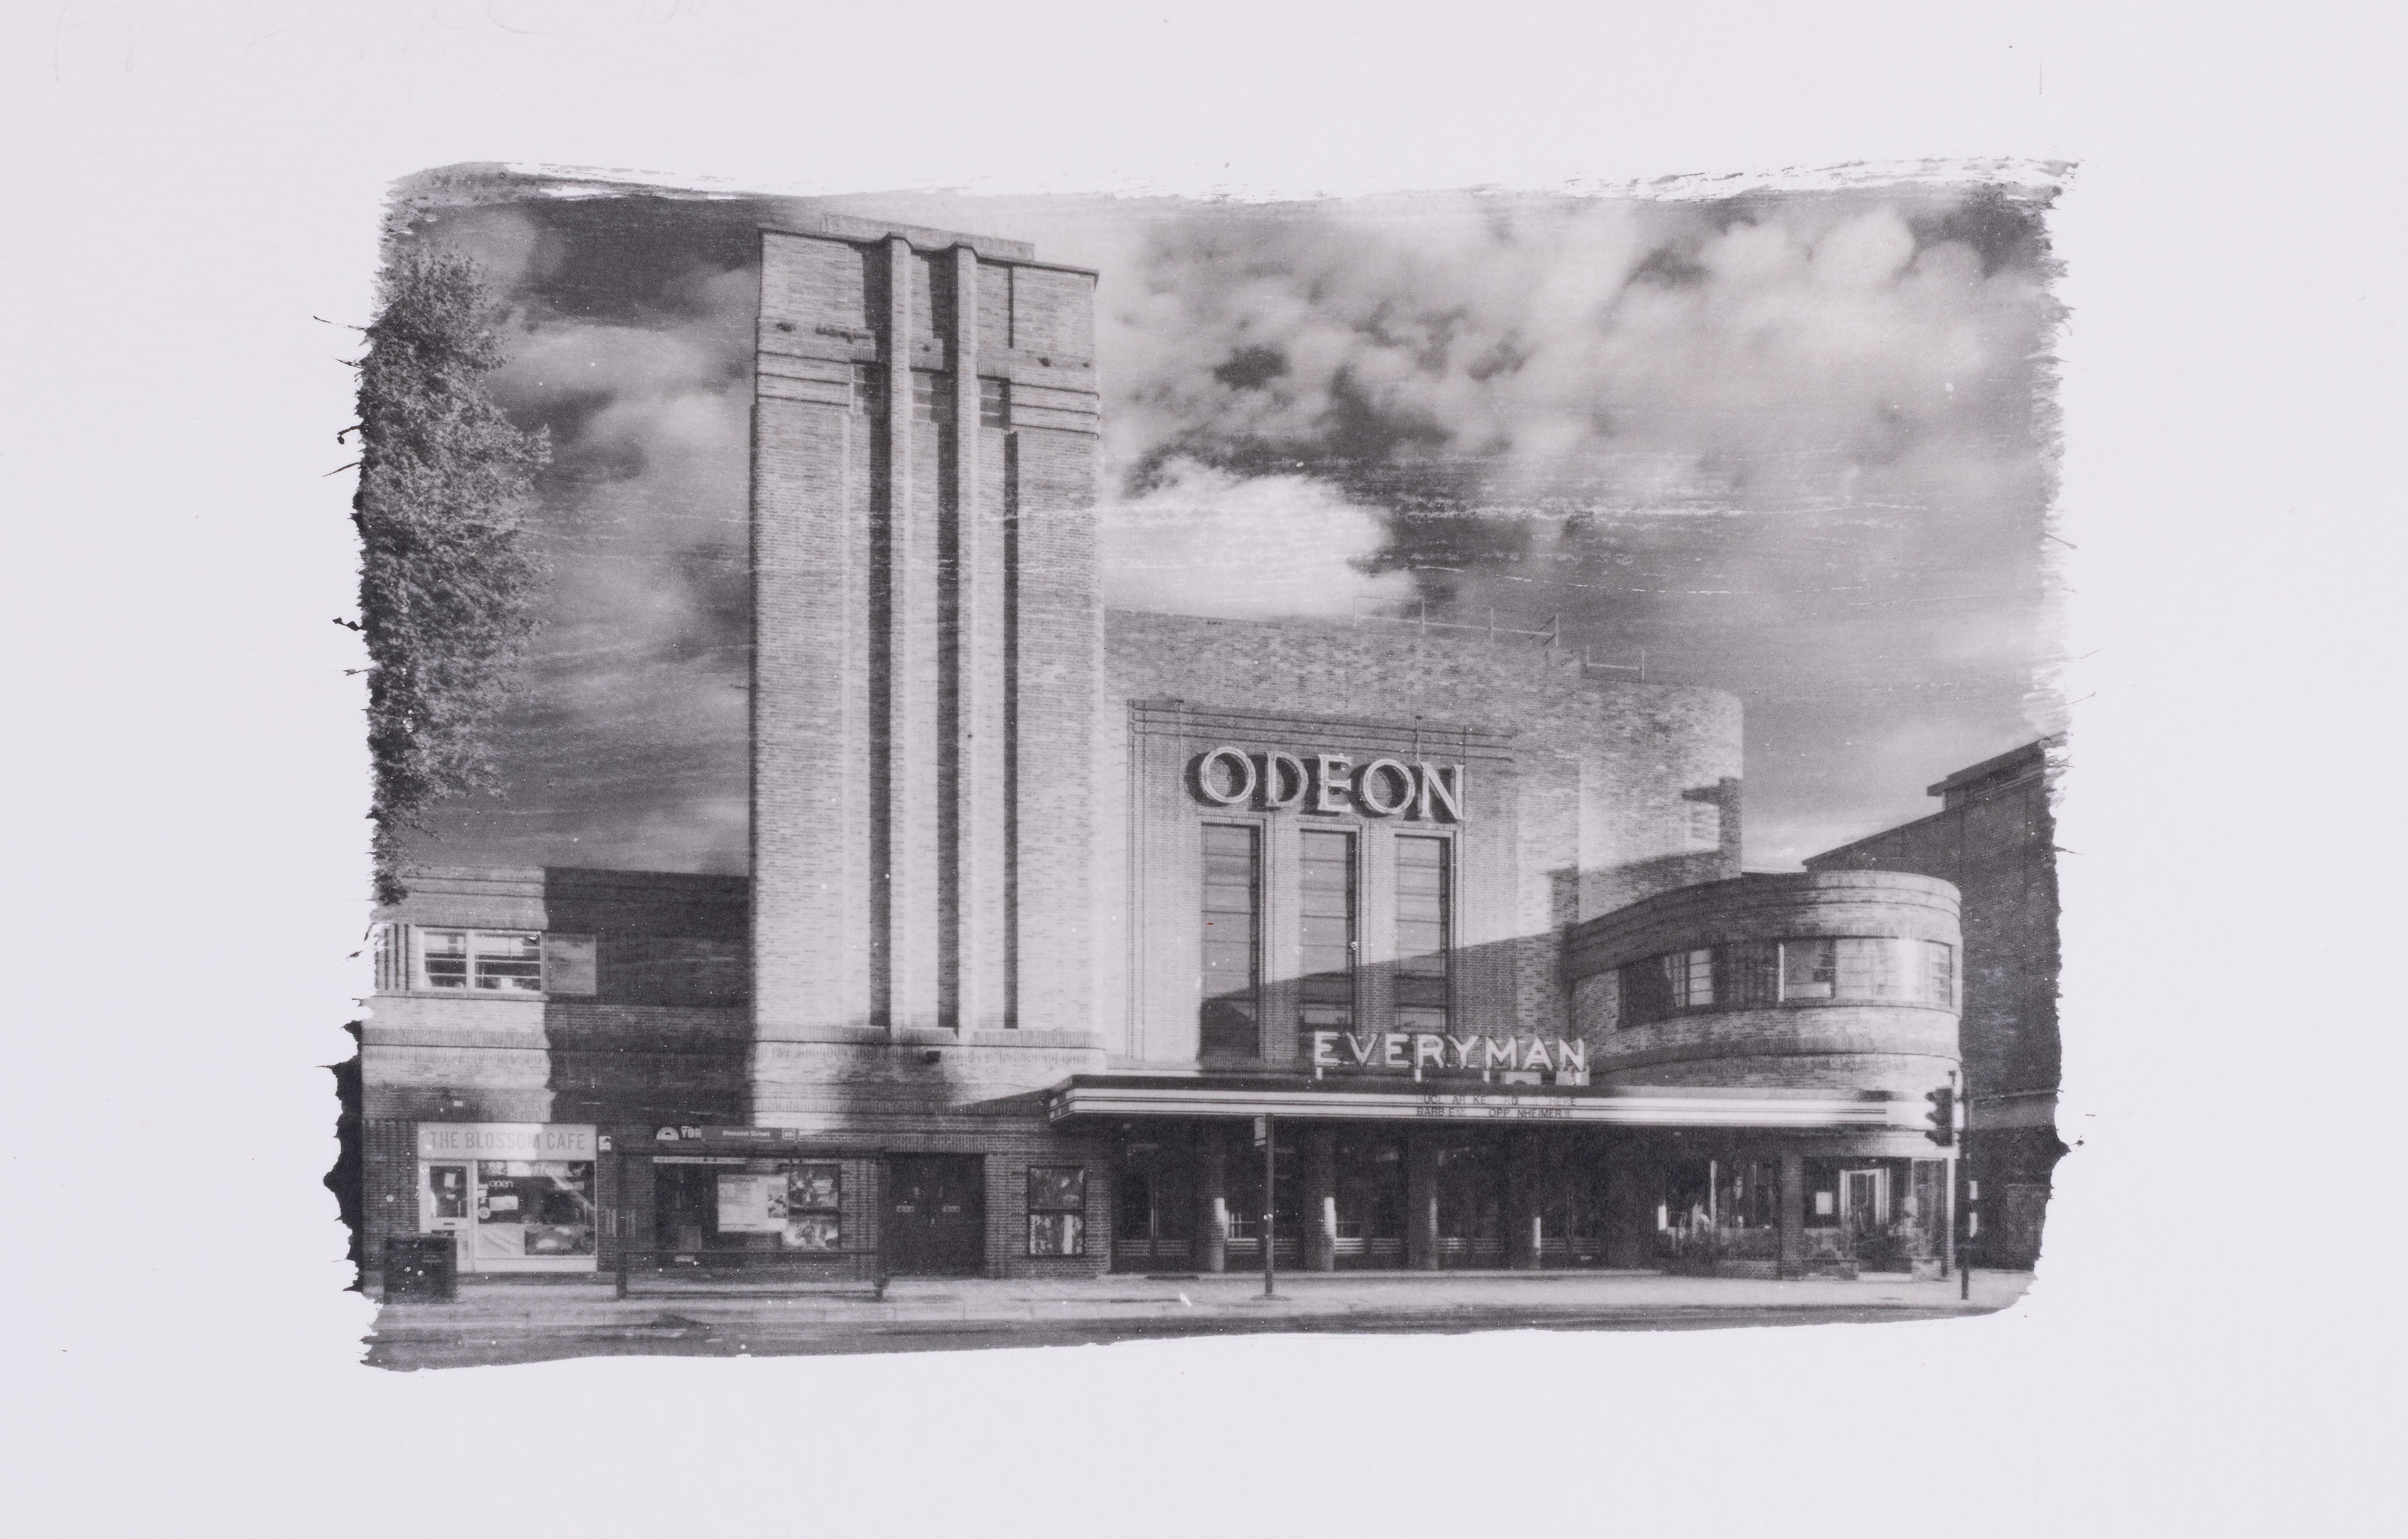
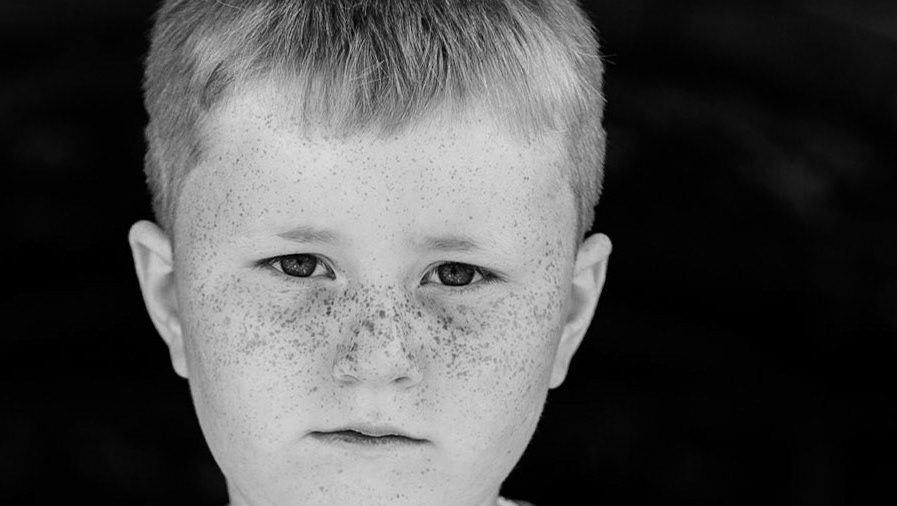
Everyman
Maltese Smoke

Hayward Gallery

Cutlery
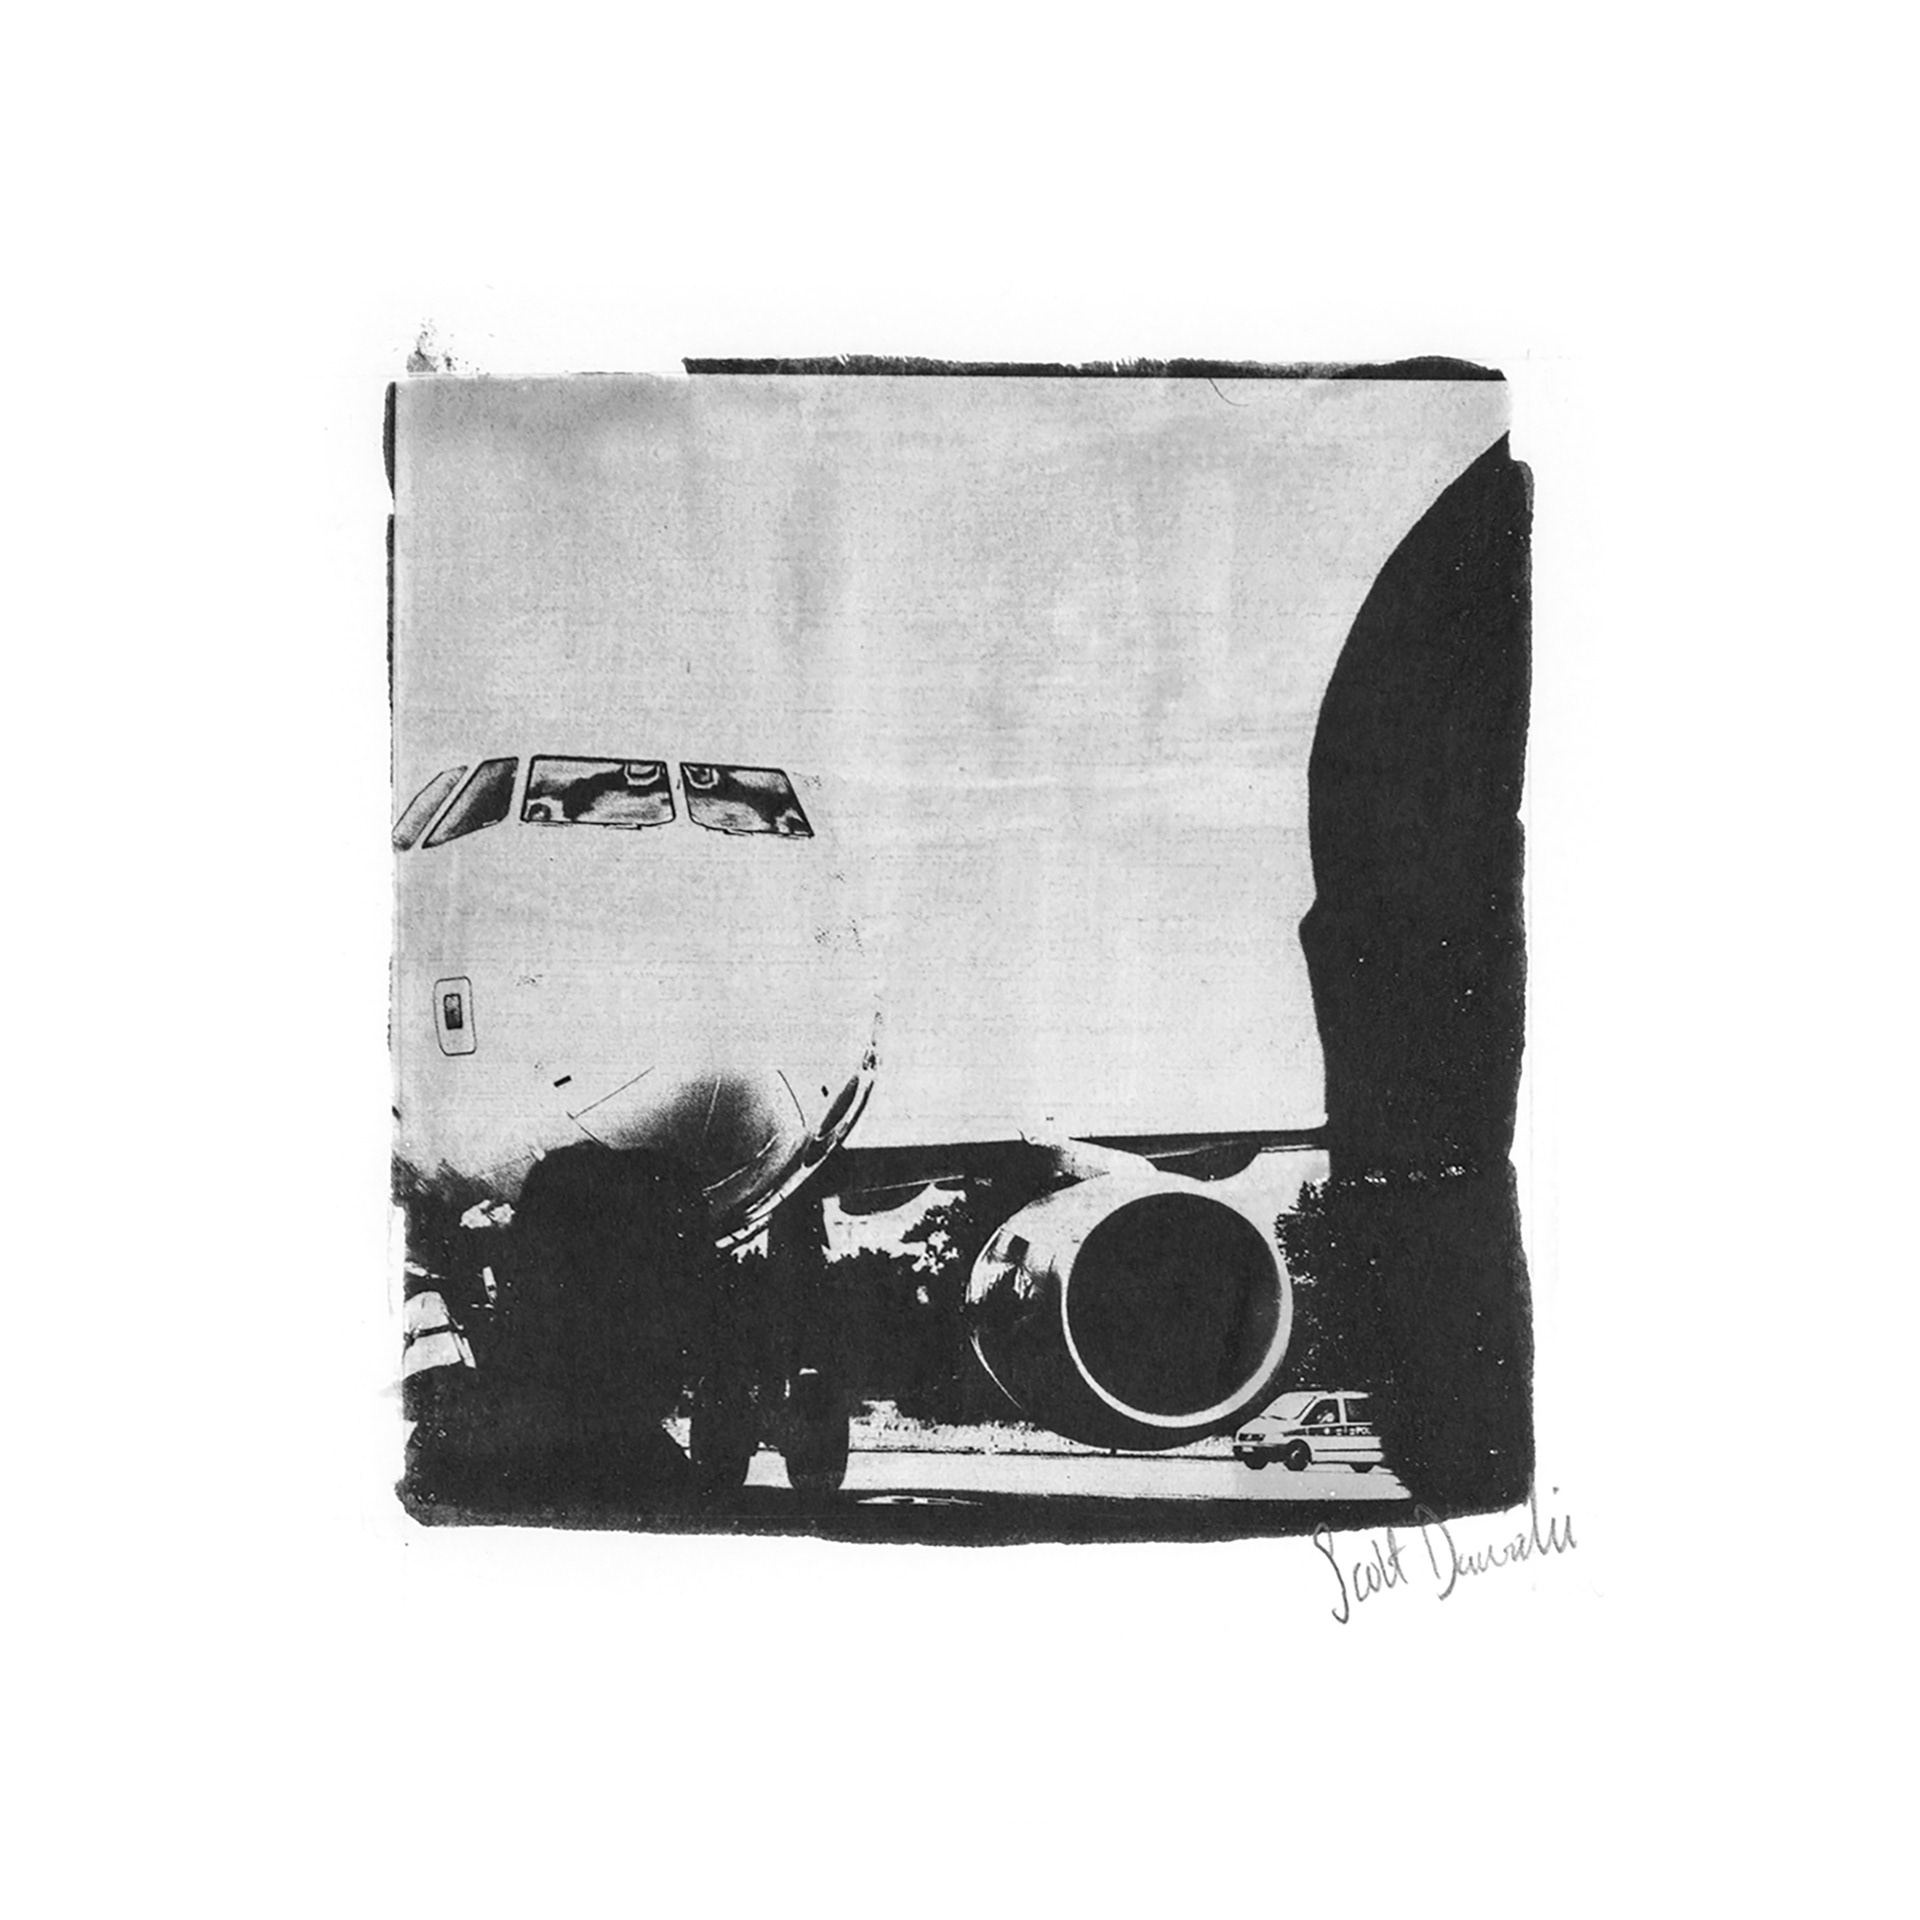
Airport
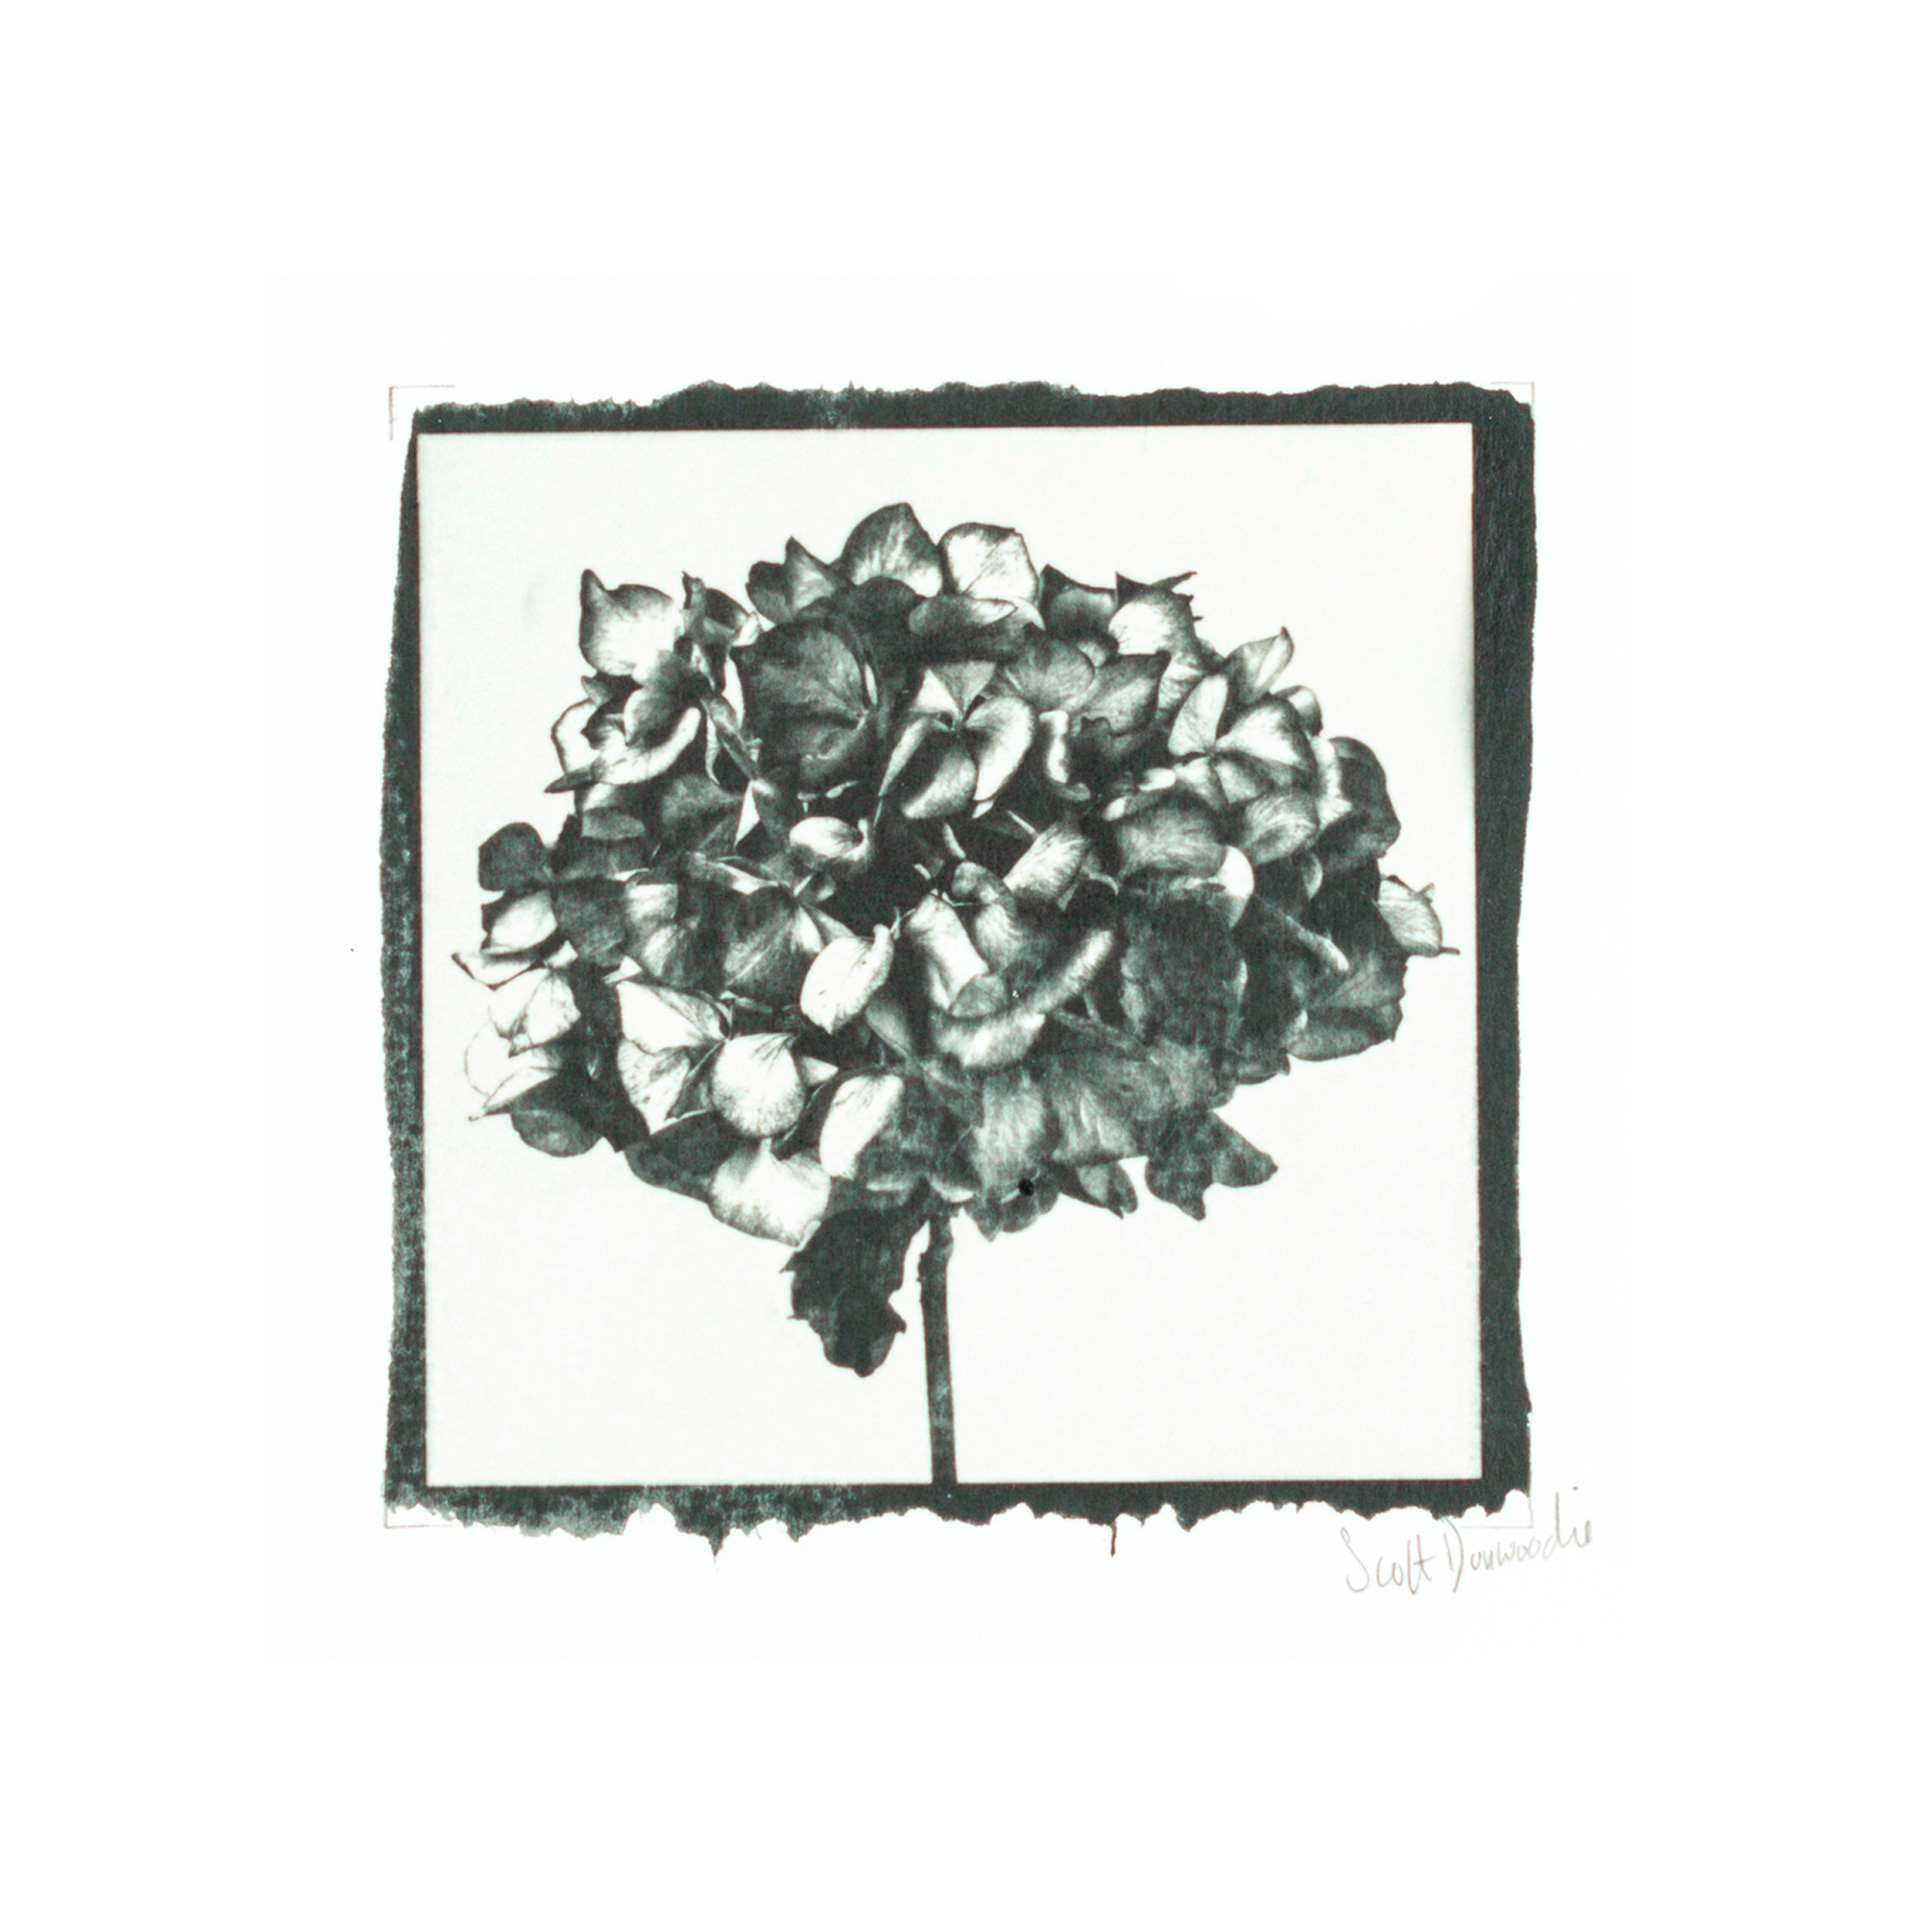
Hydrangea 1
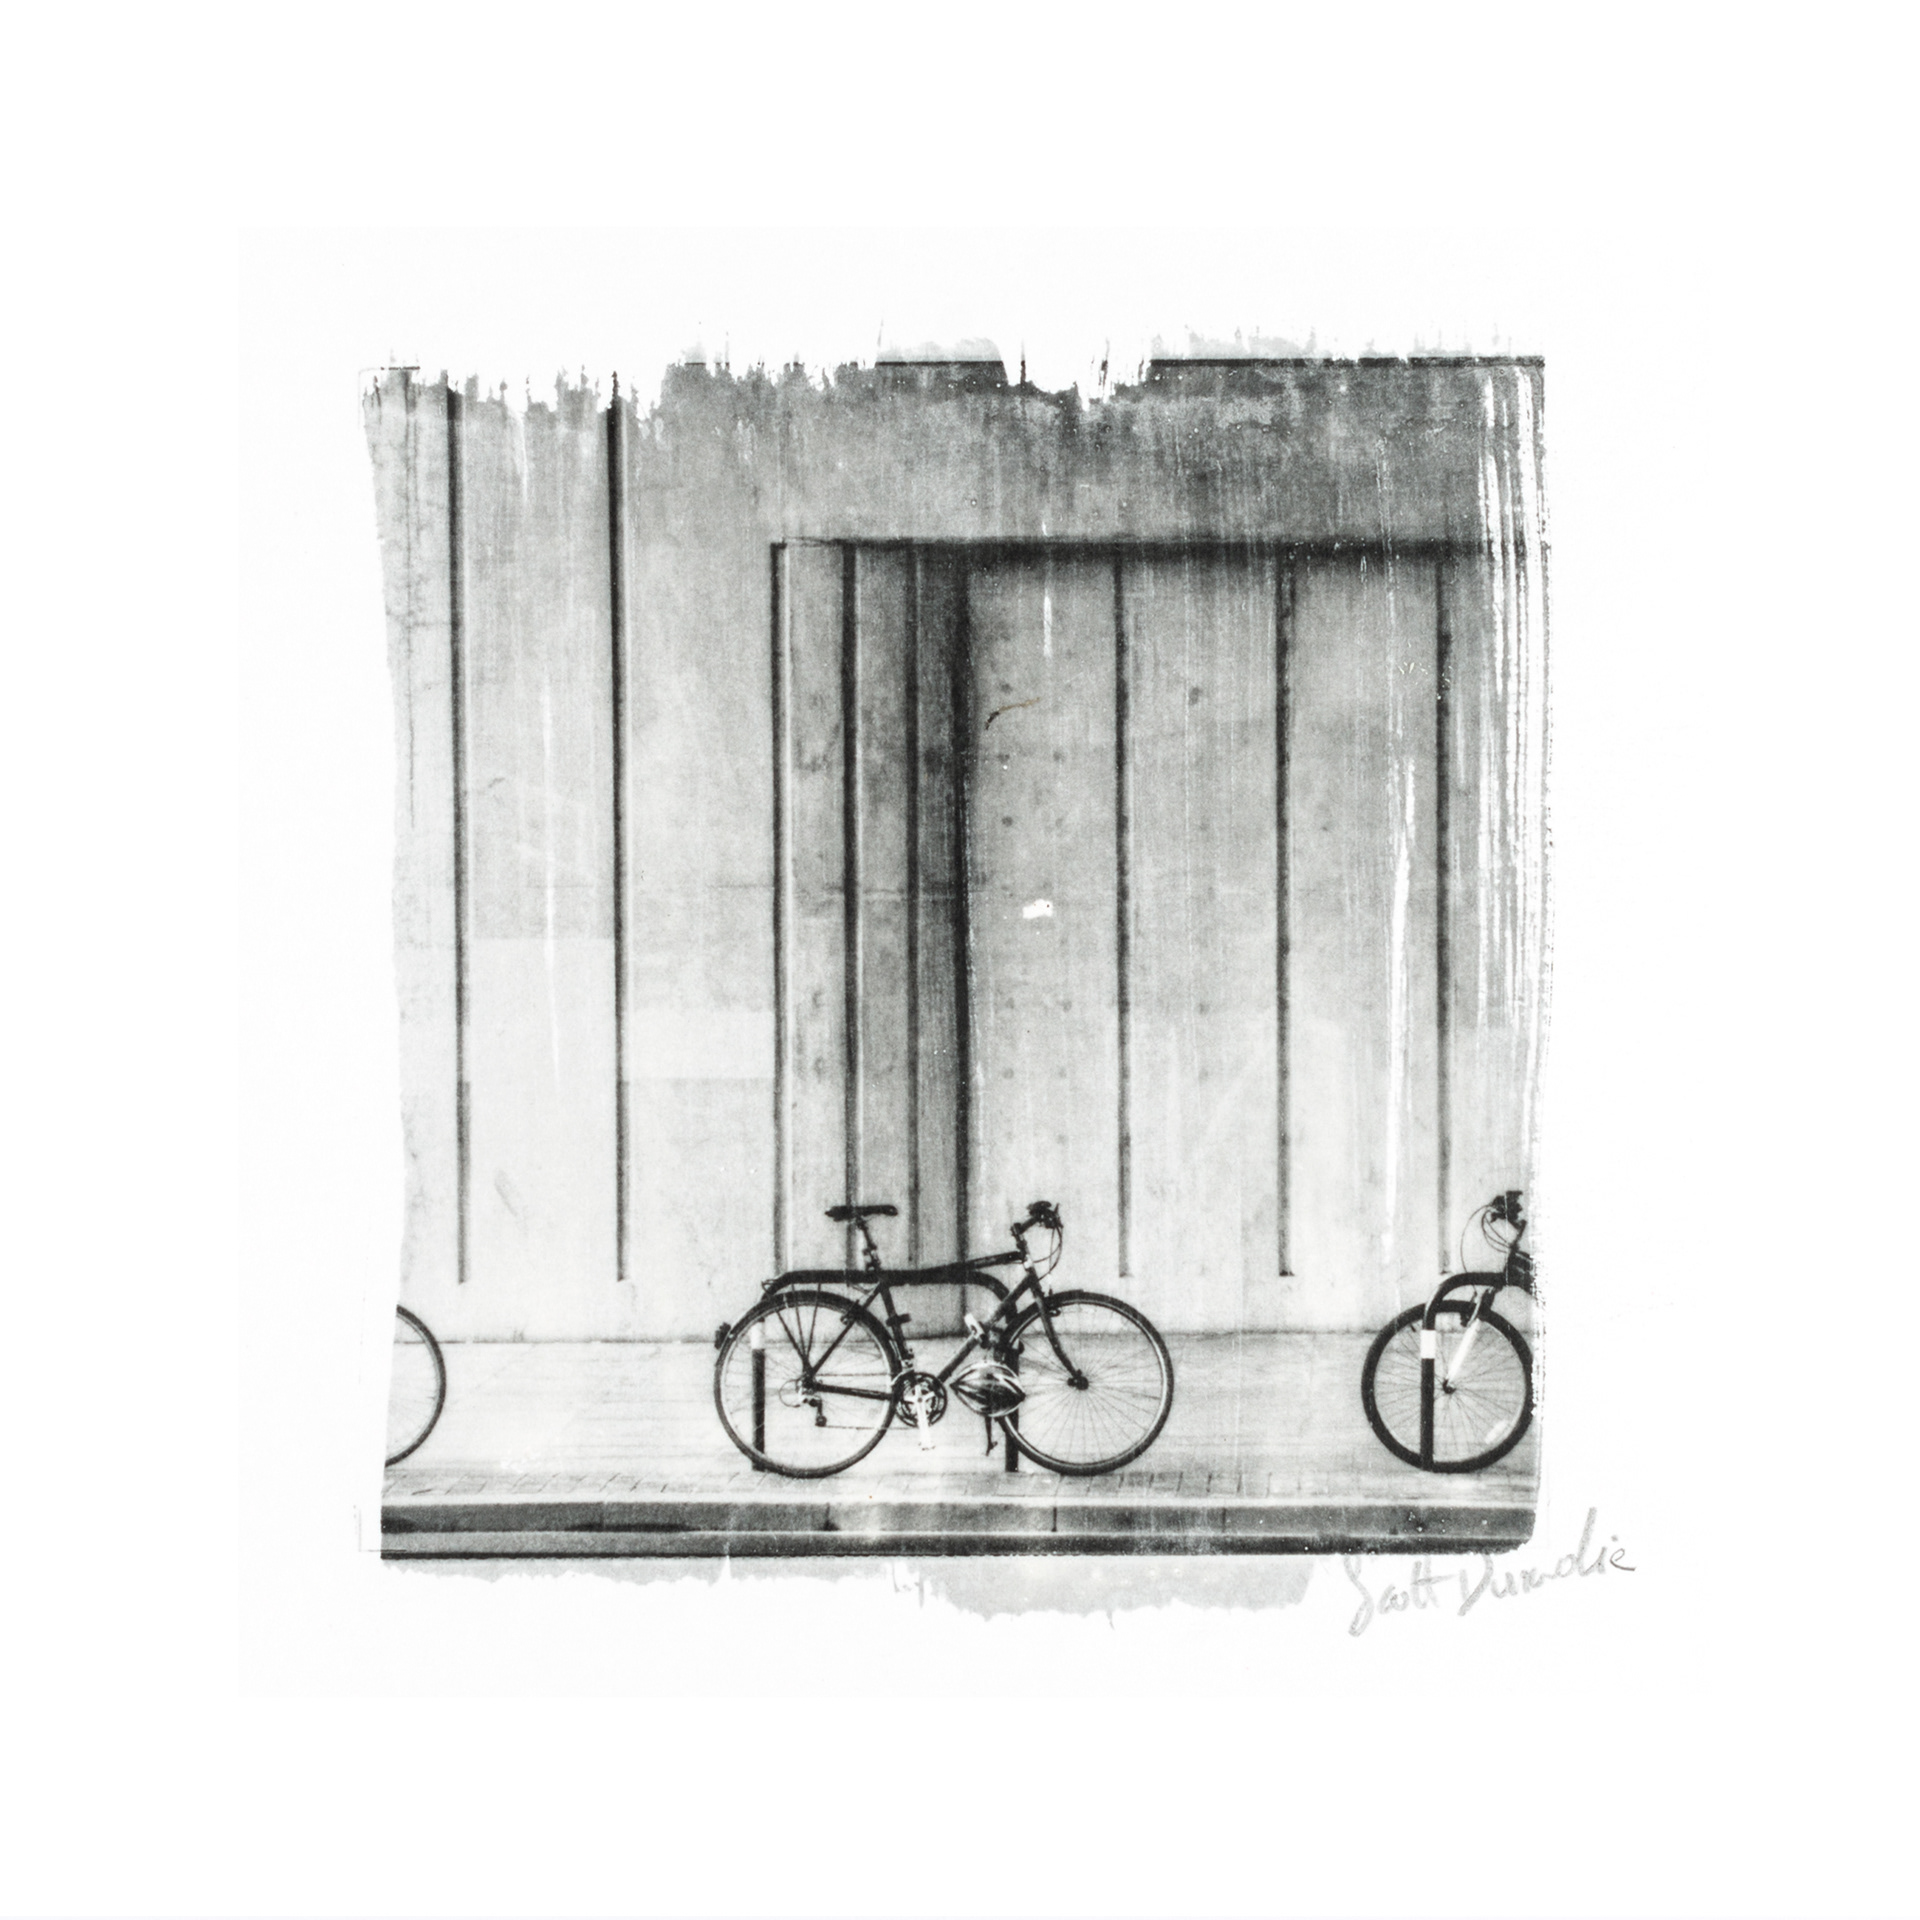
East End Bikes
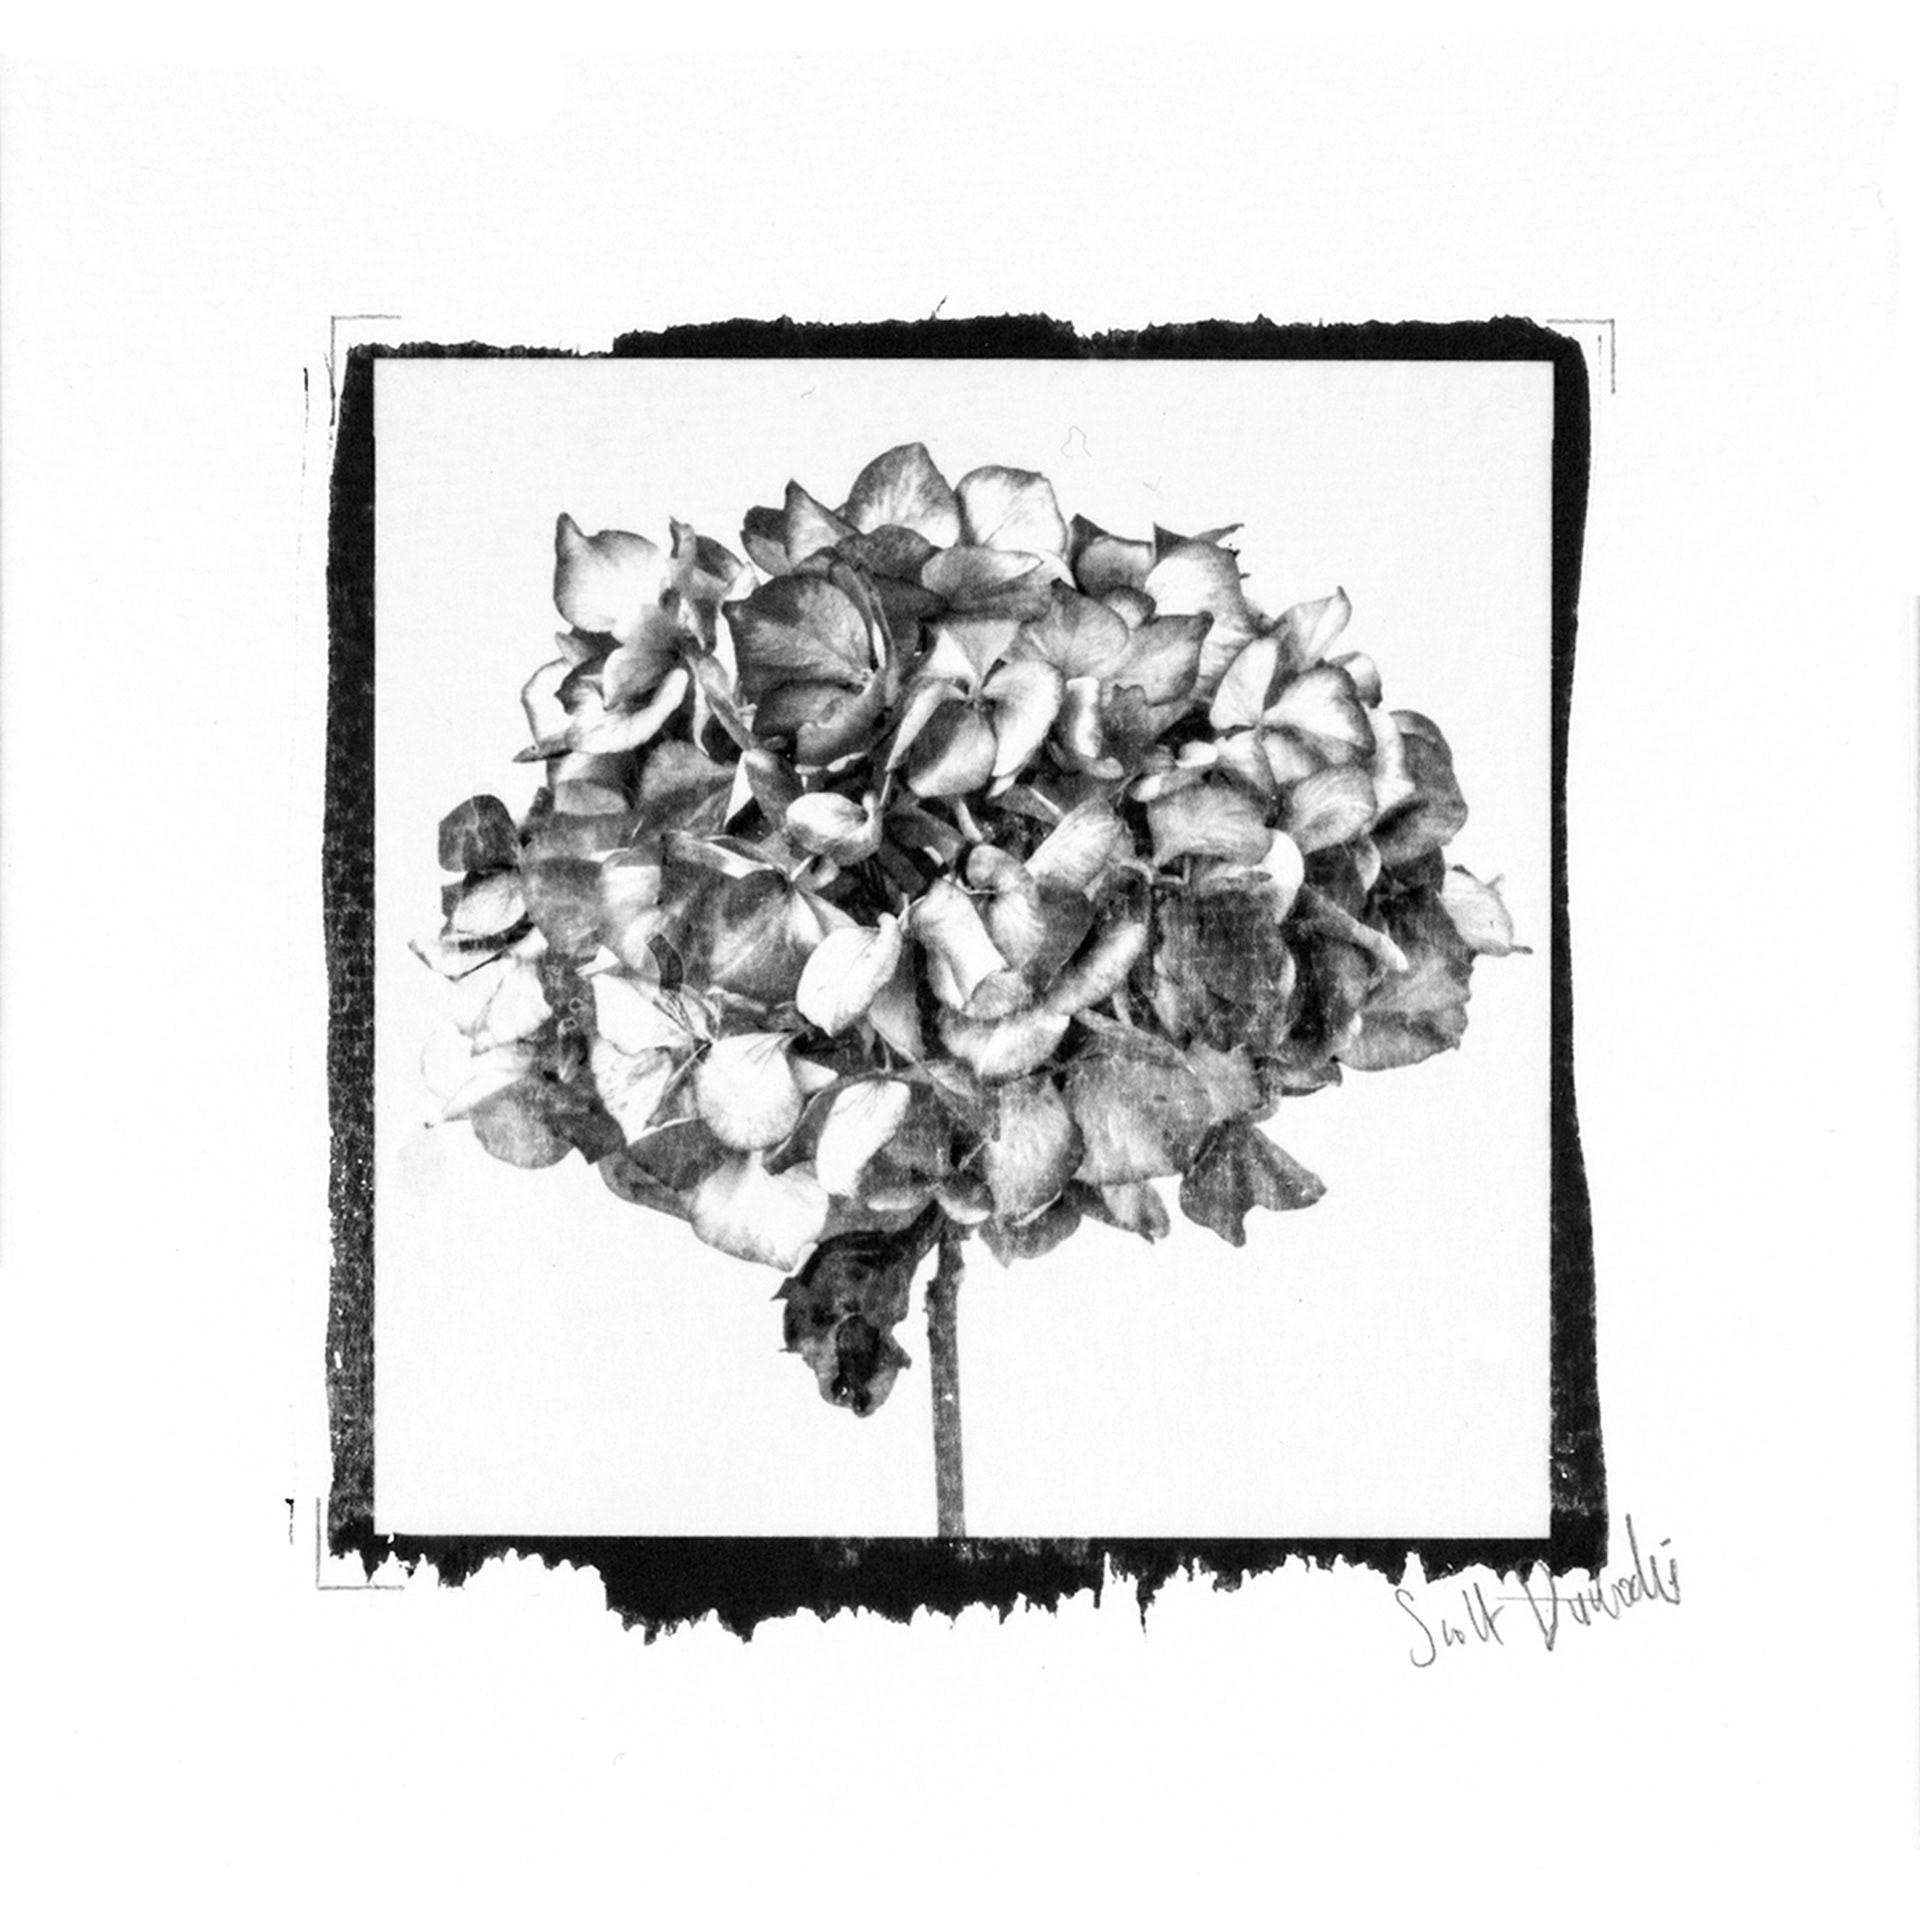
Hydrangea 2

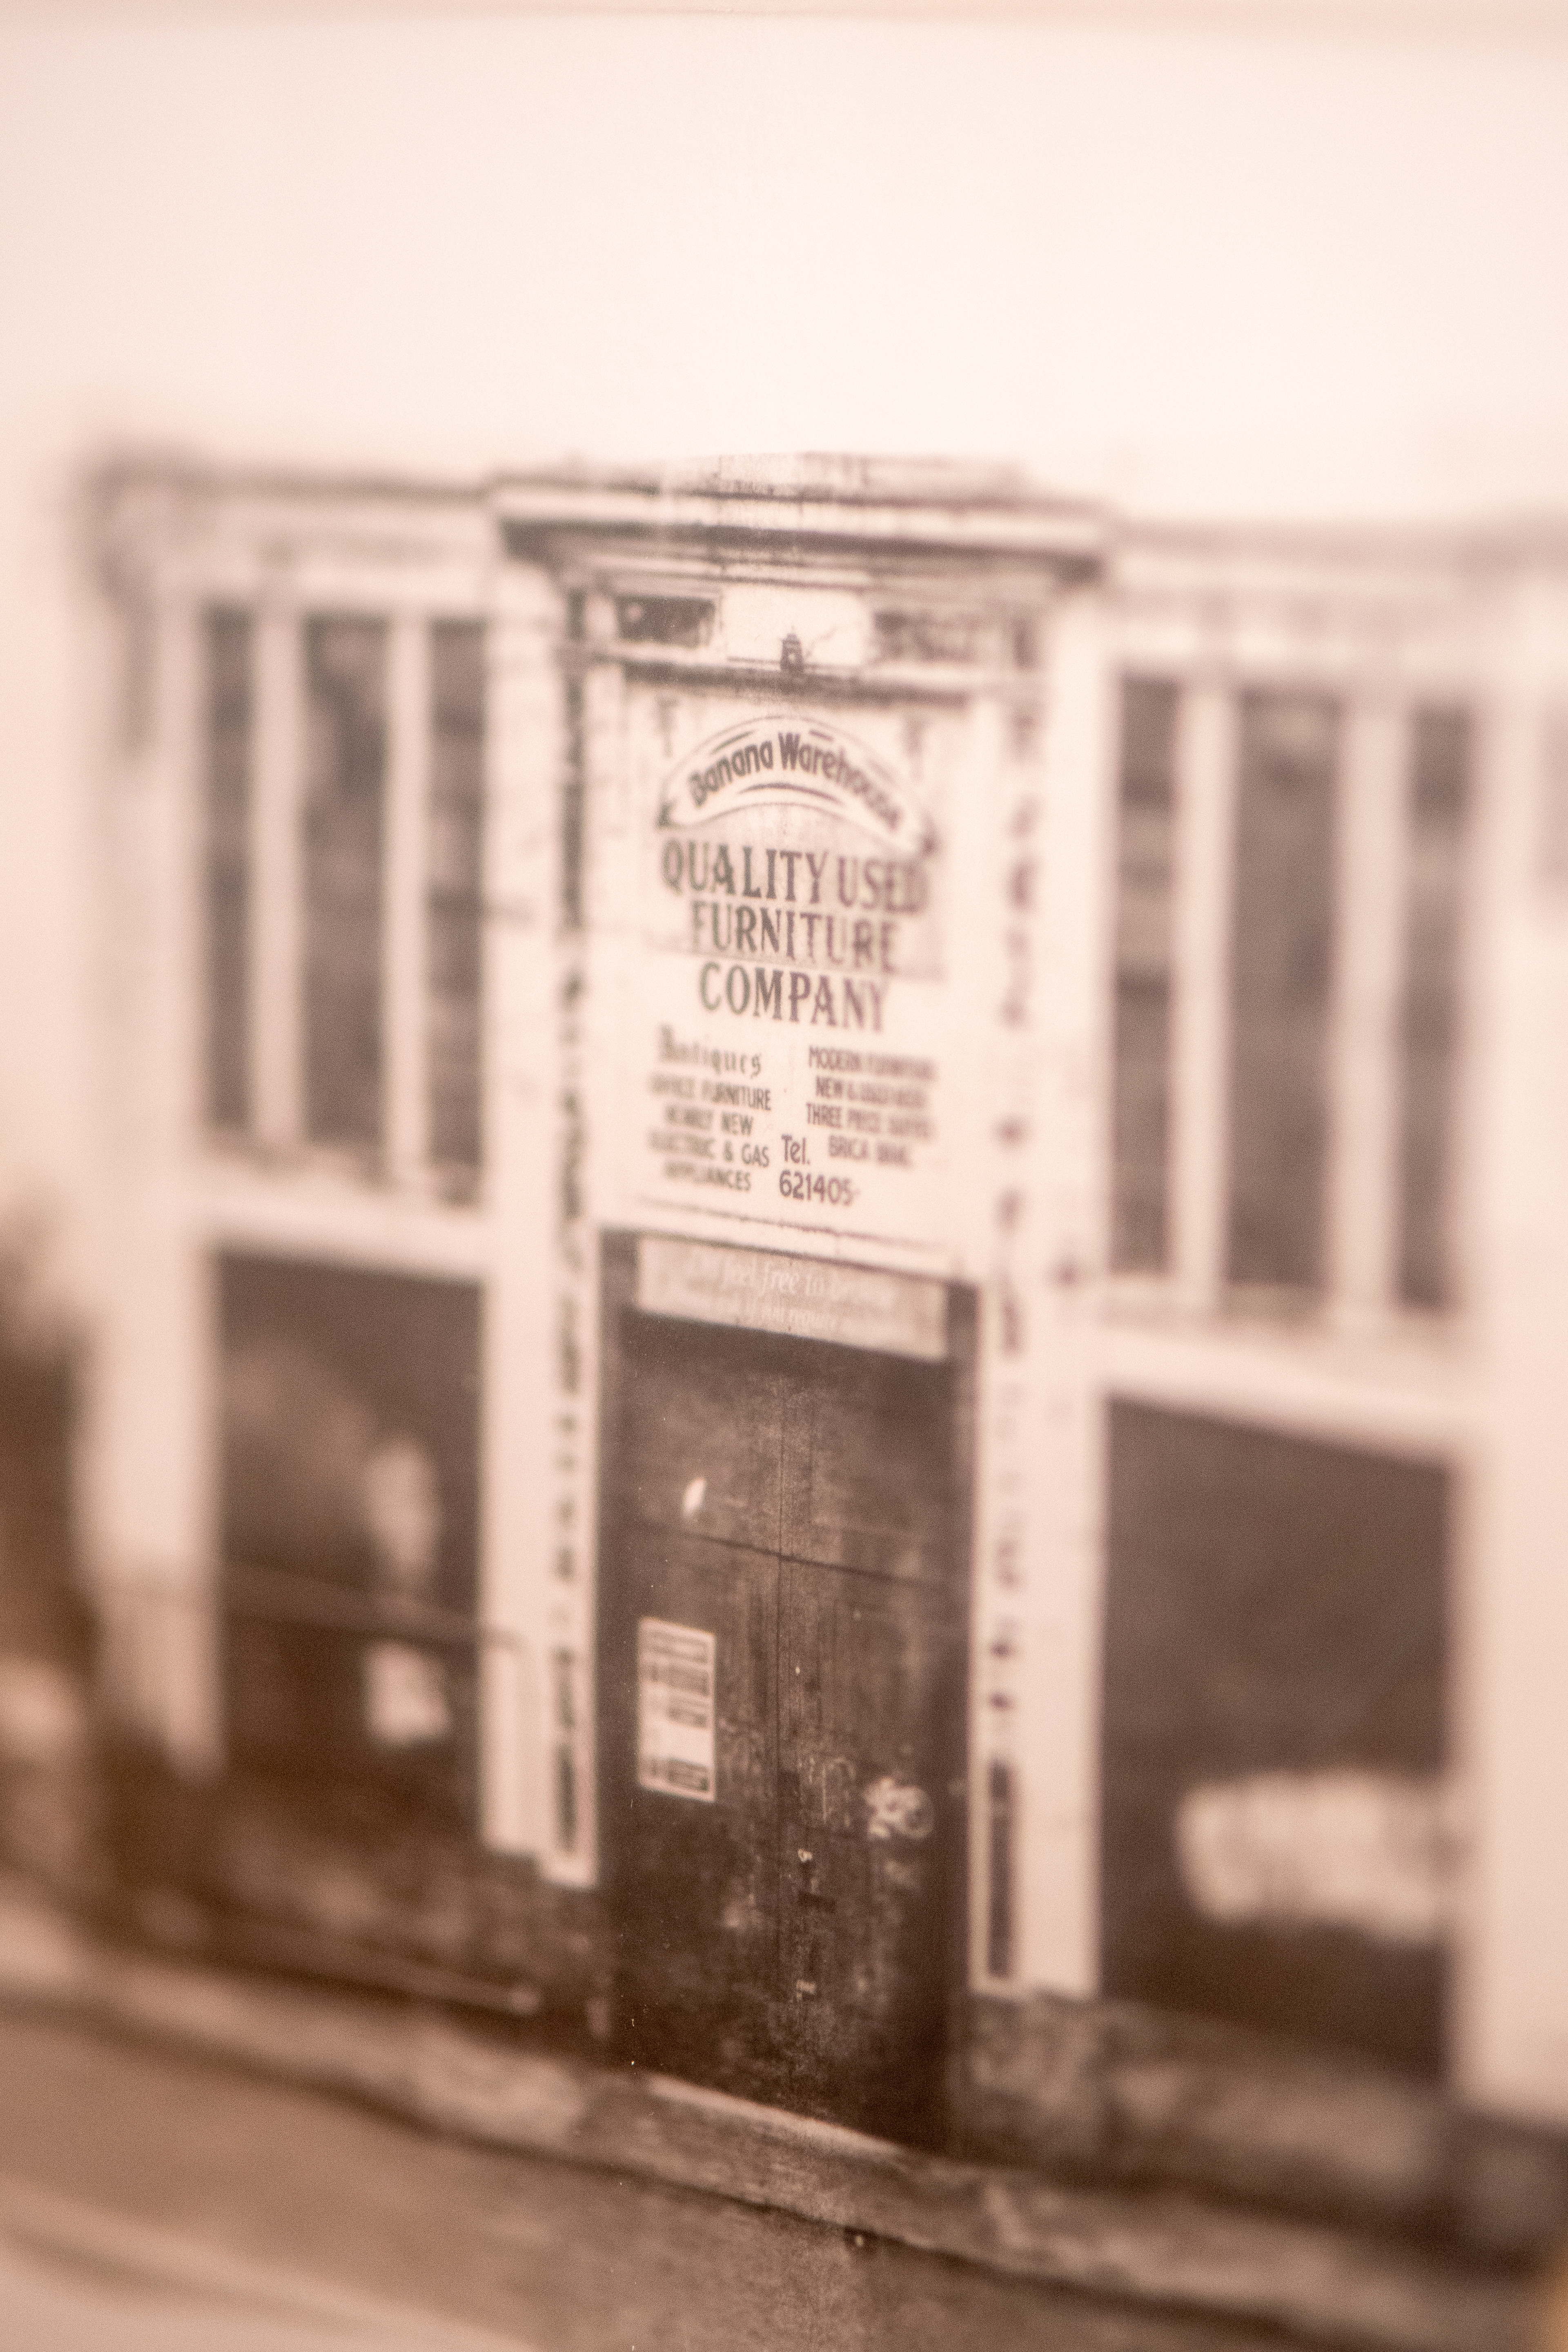
Victorian London
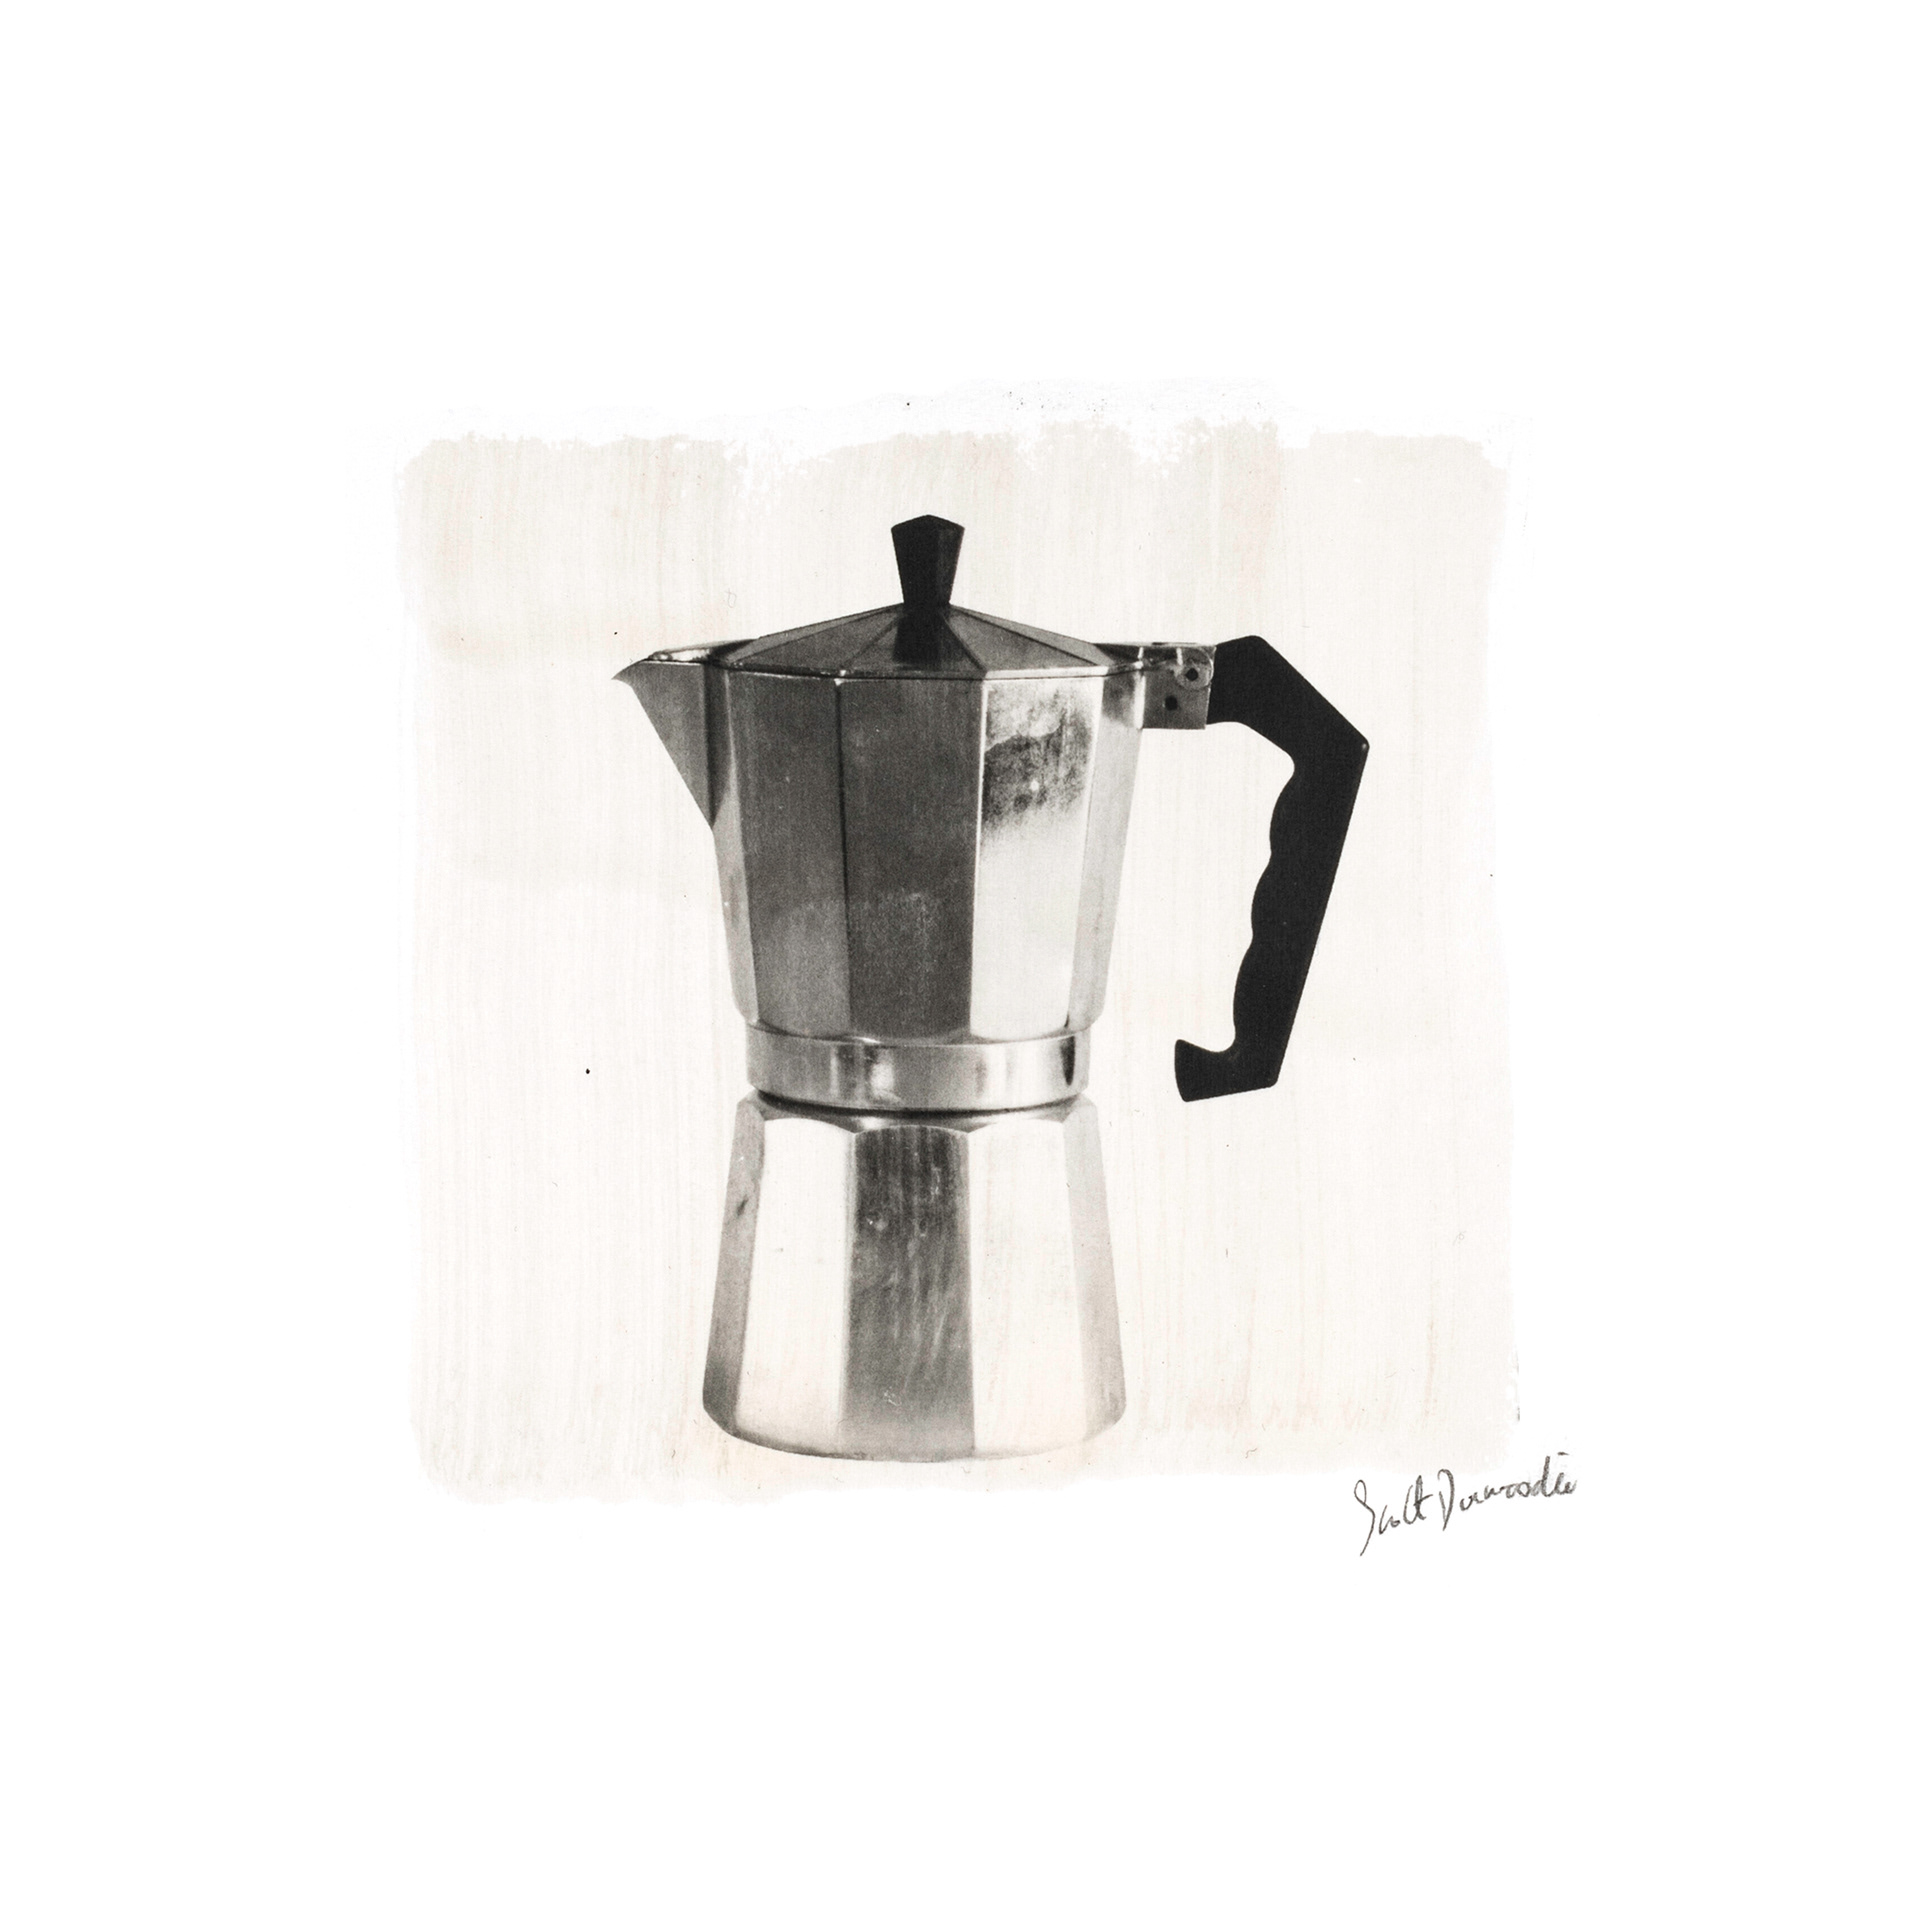
Coffee
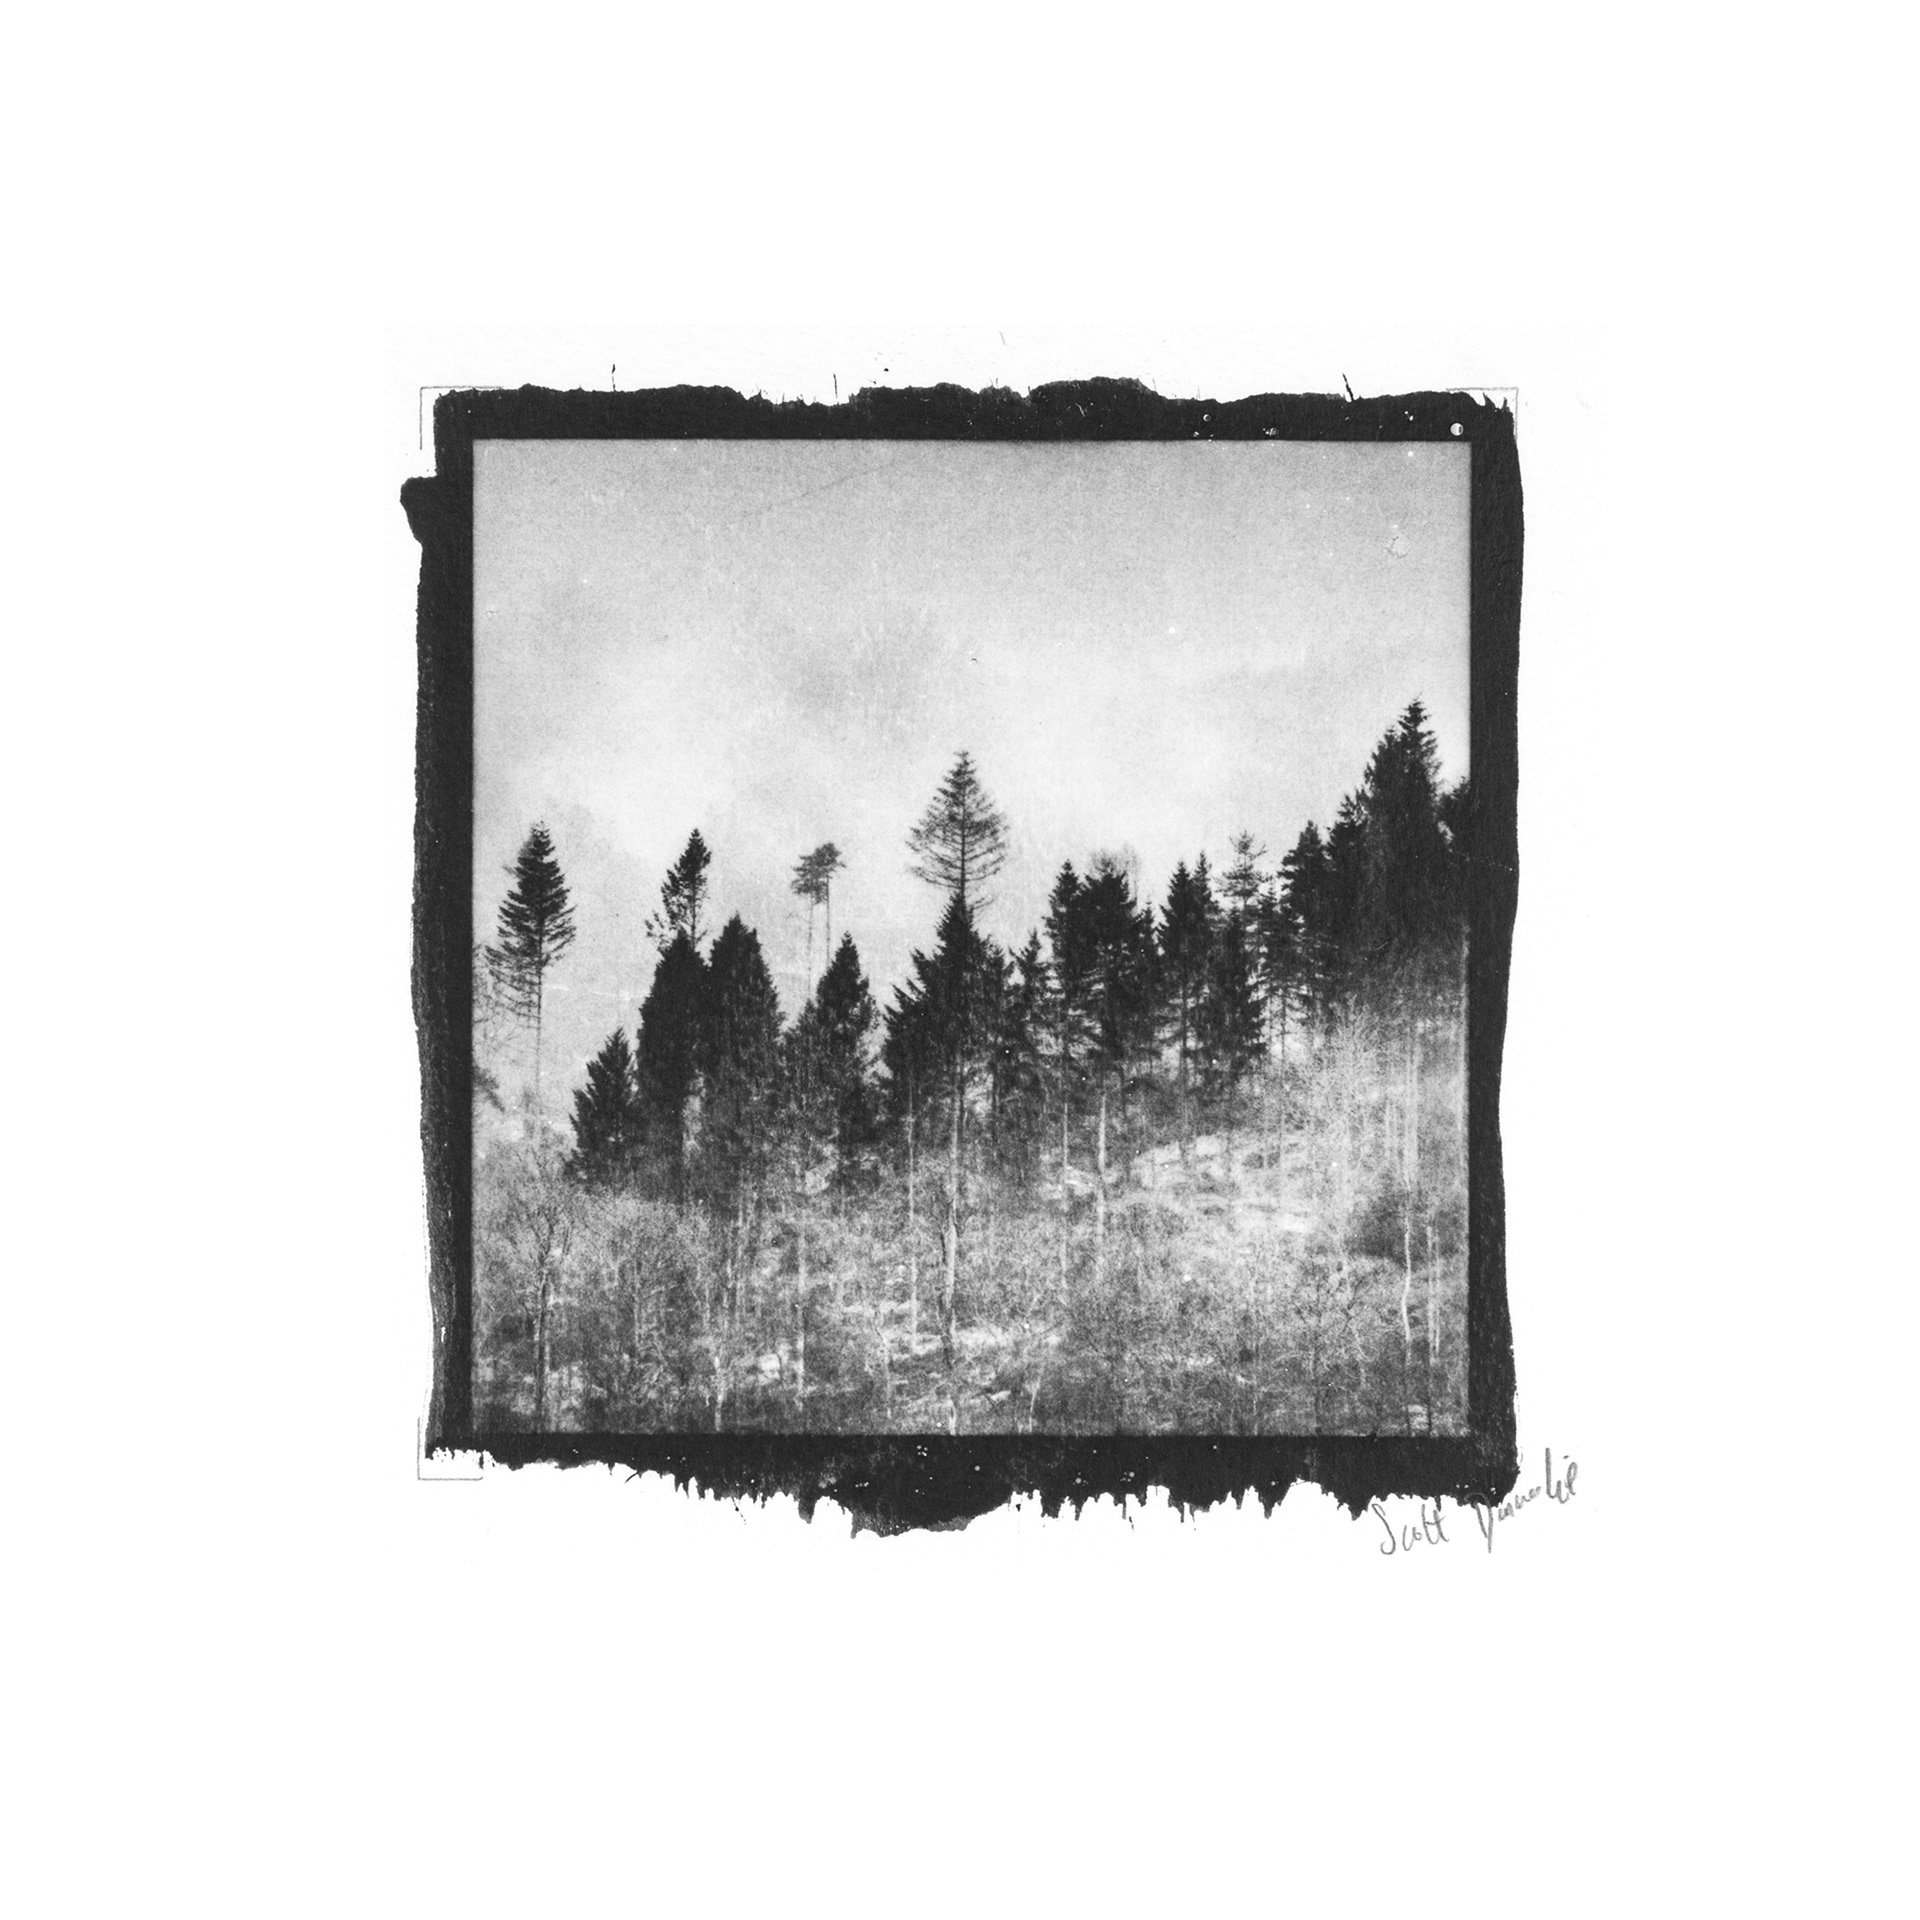
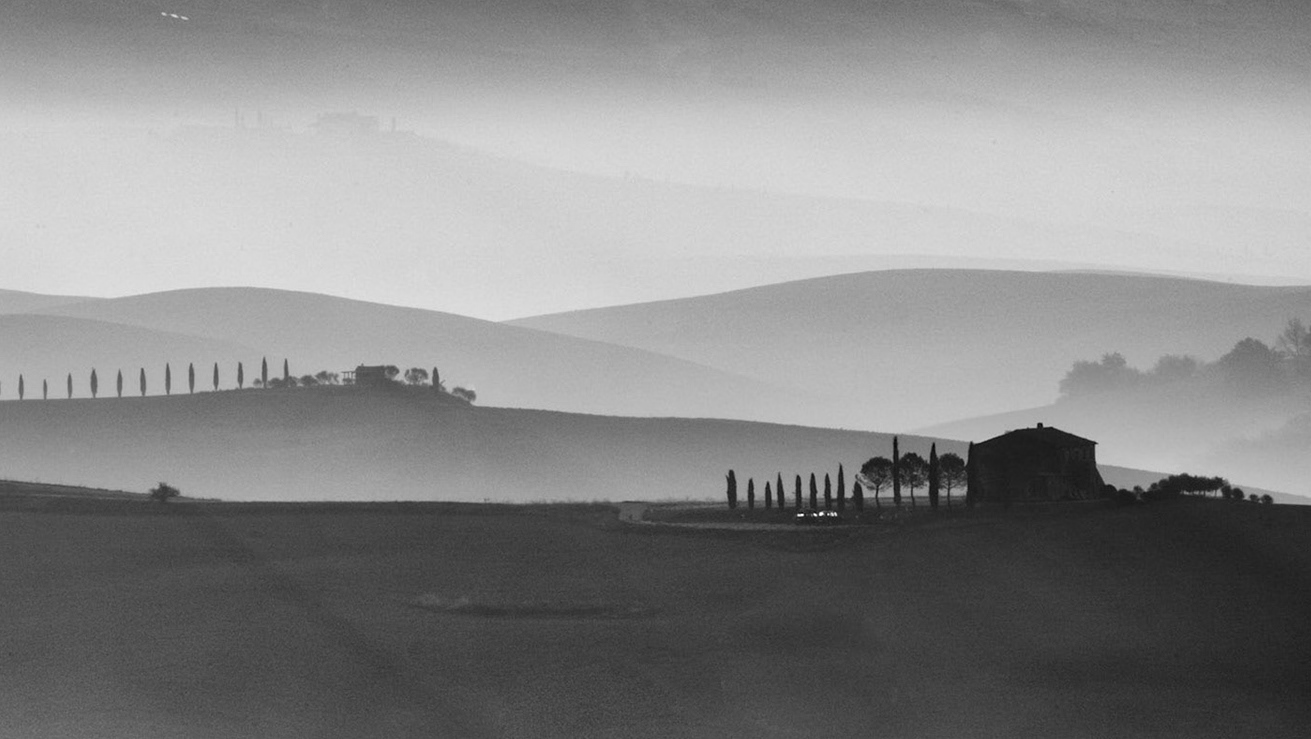
Misty Trees
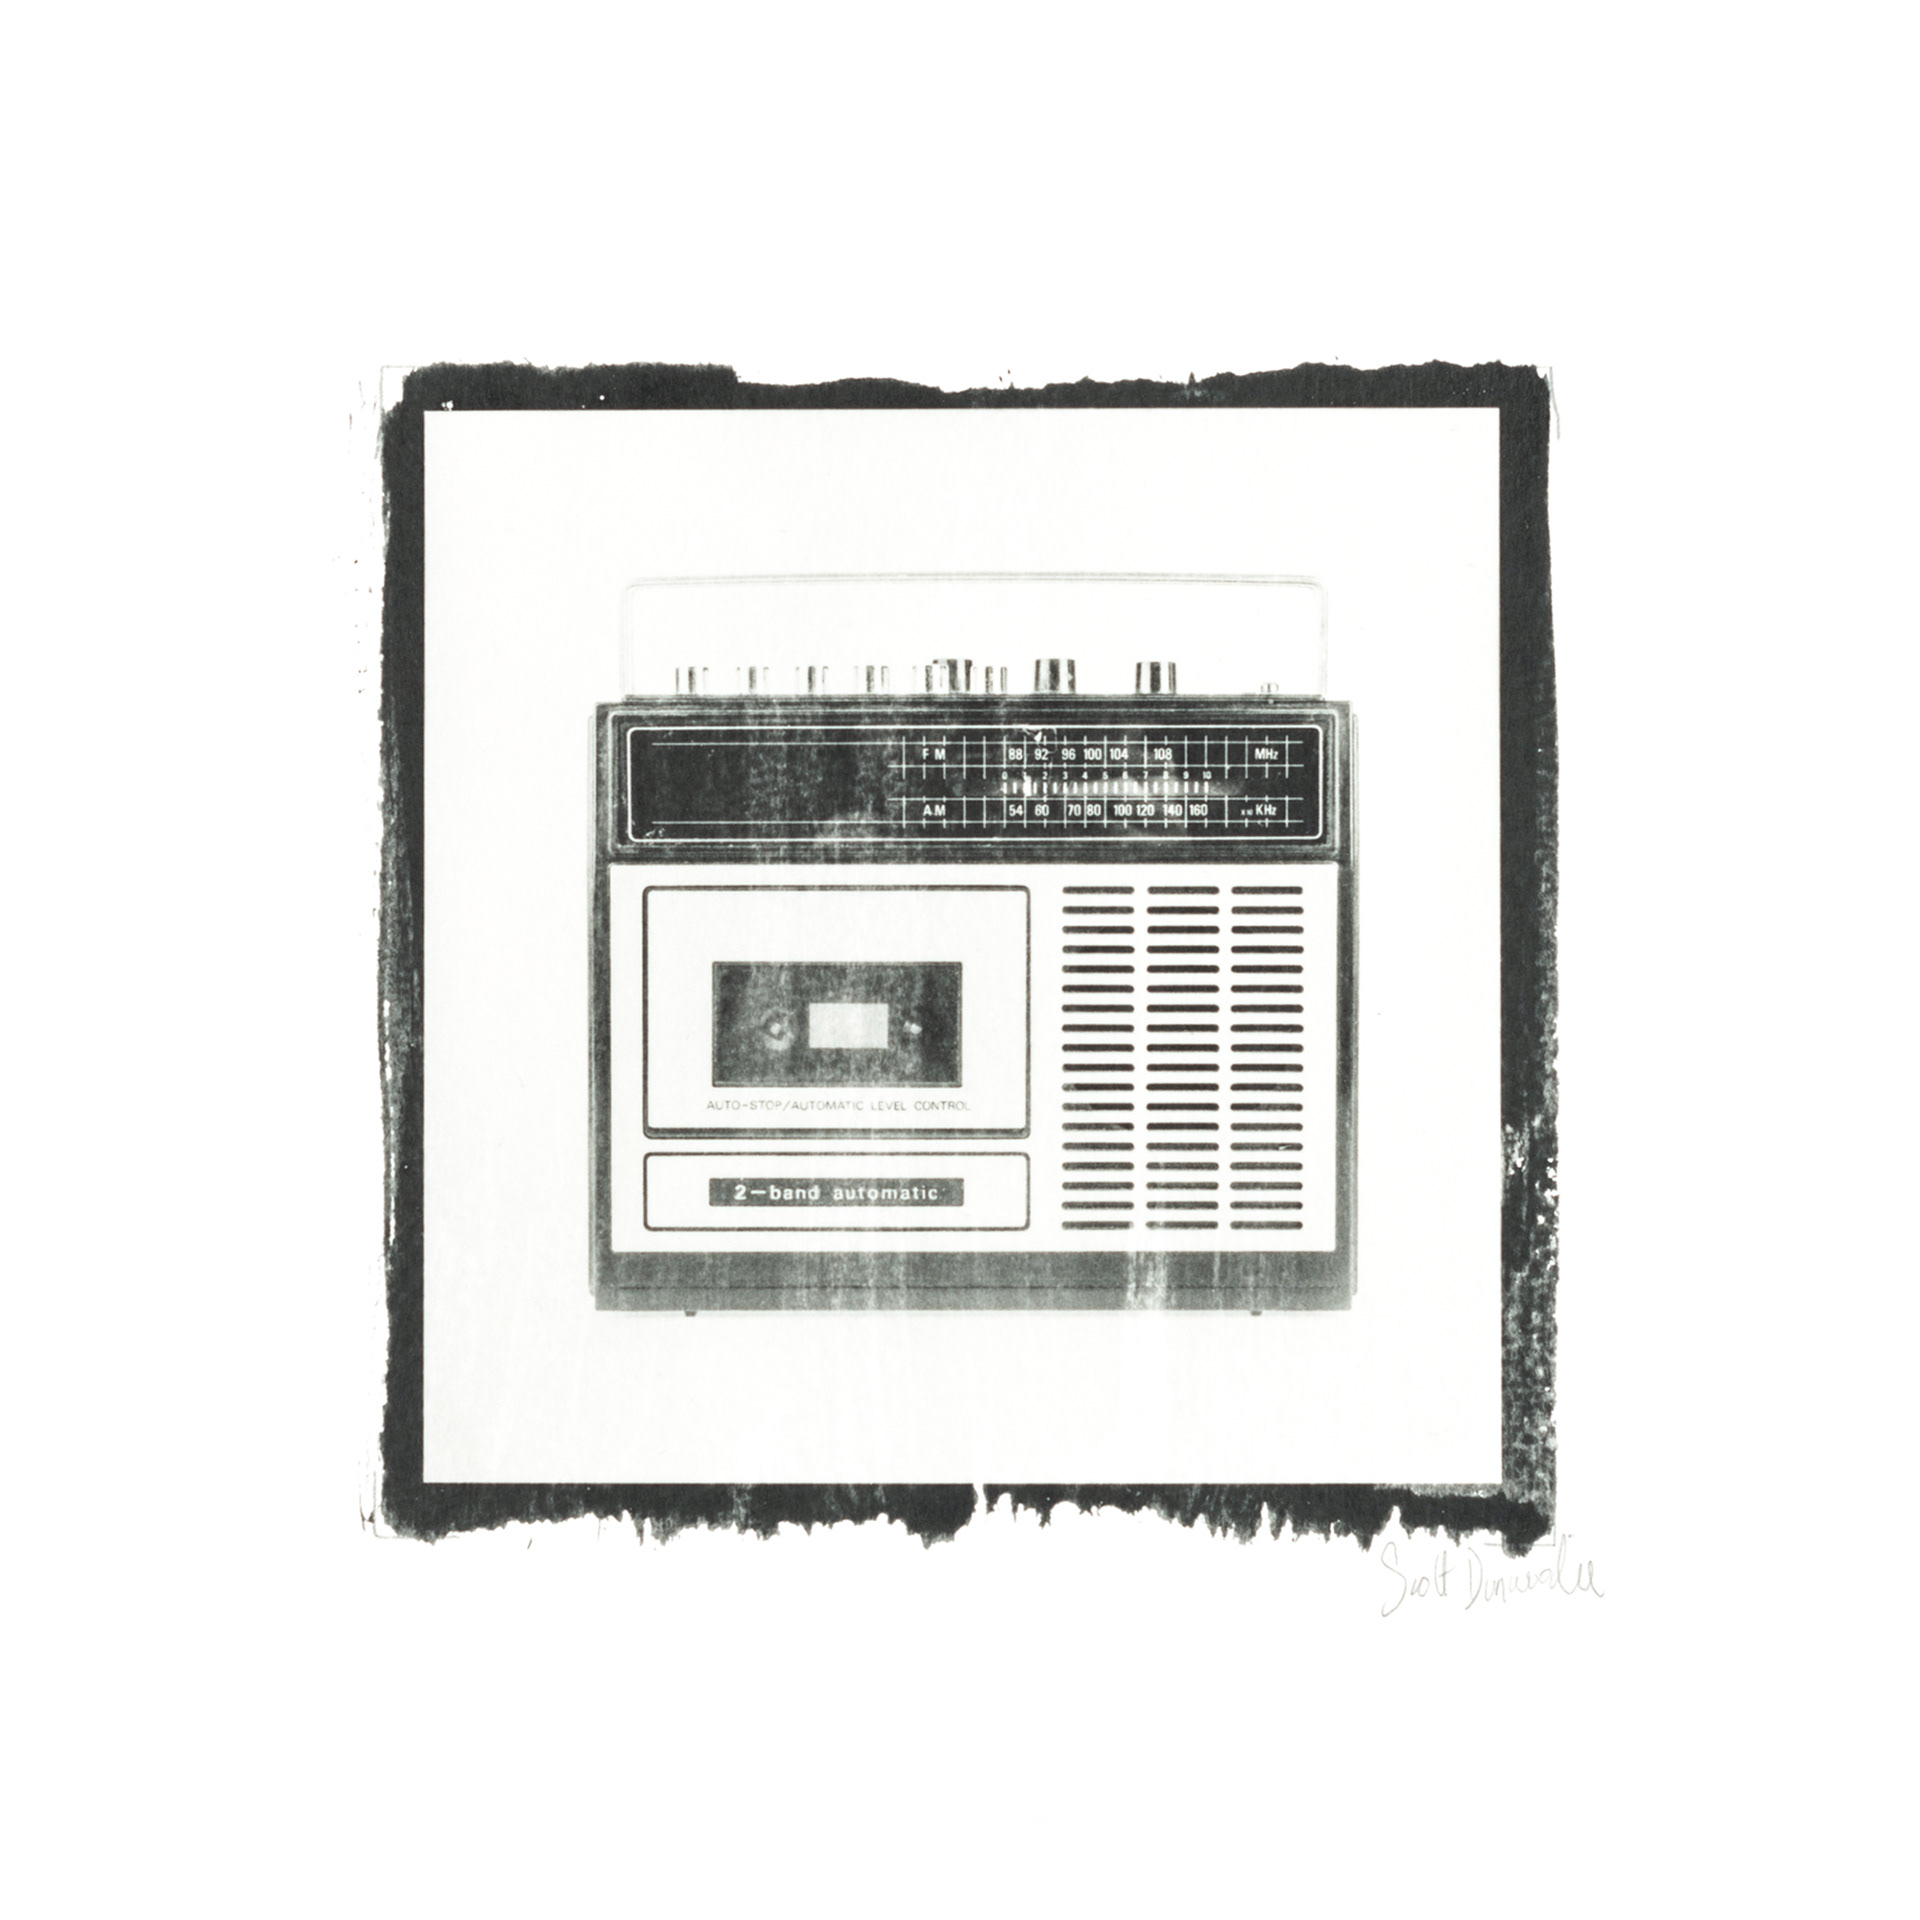
Radio
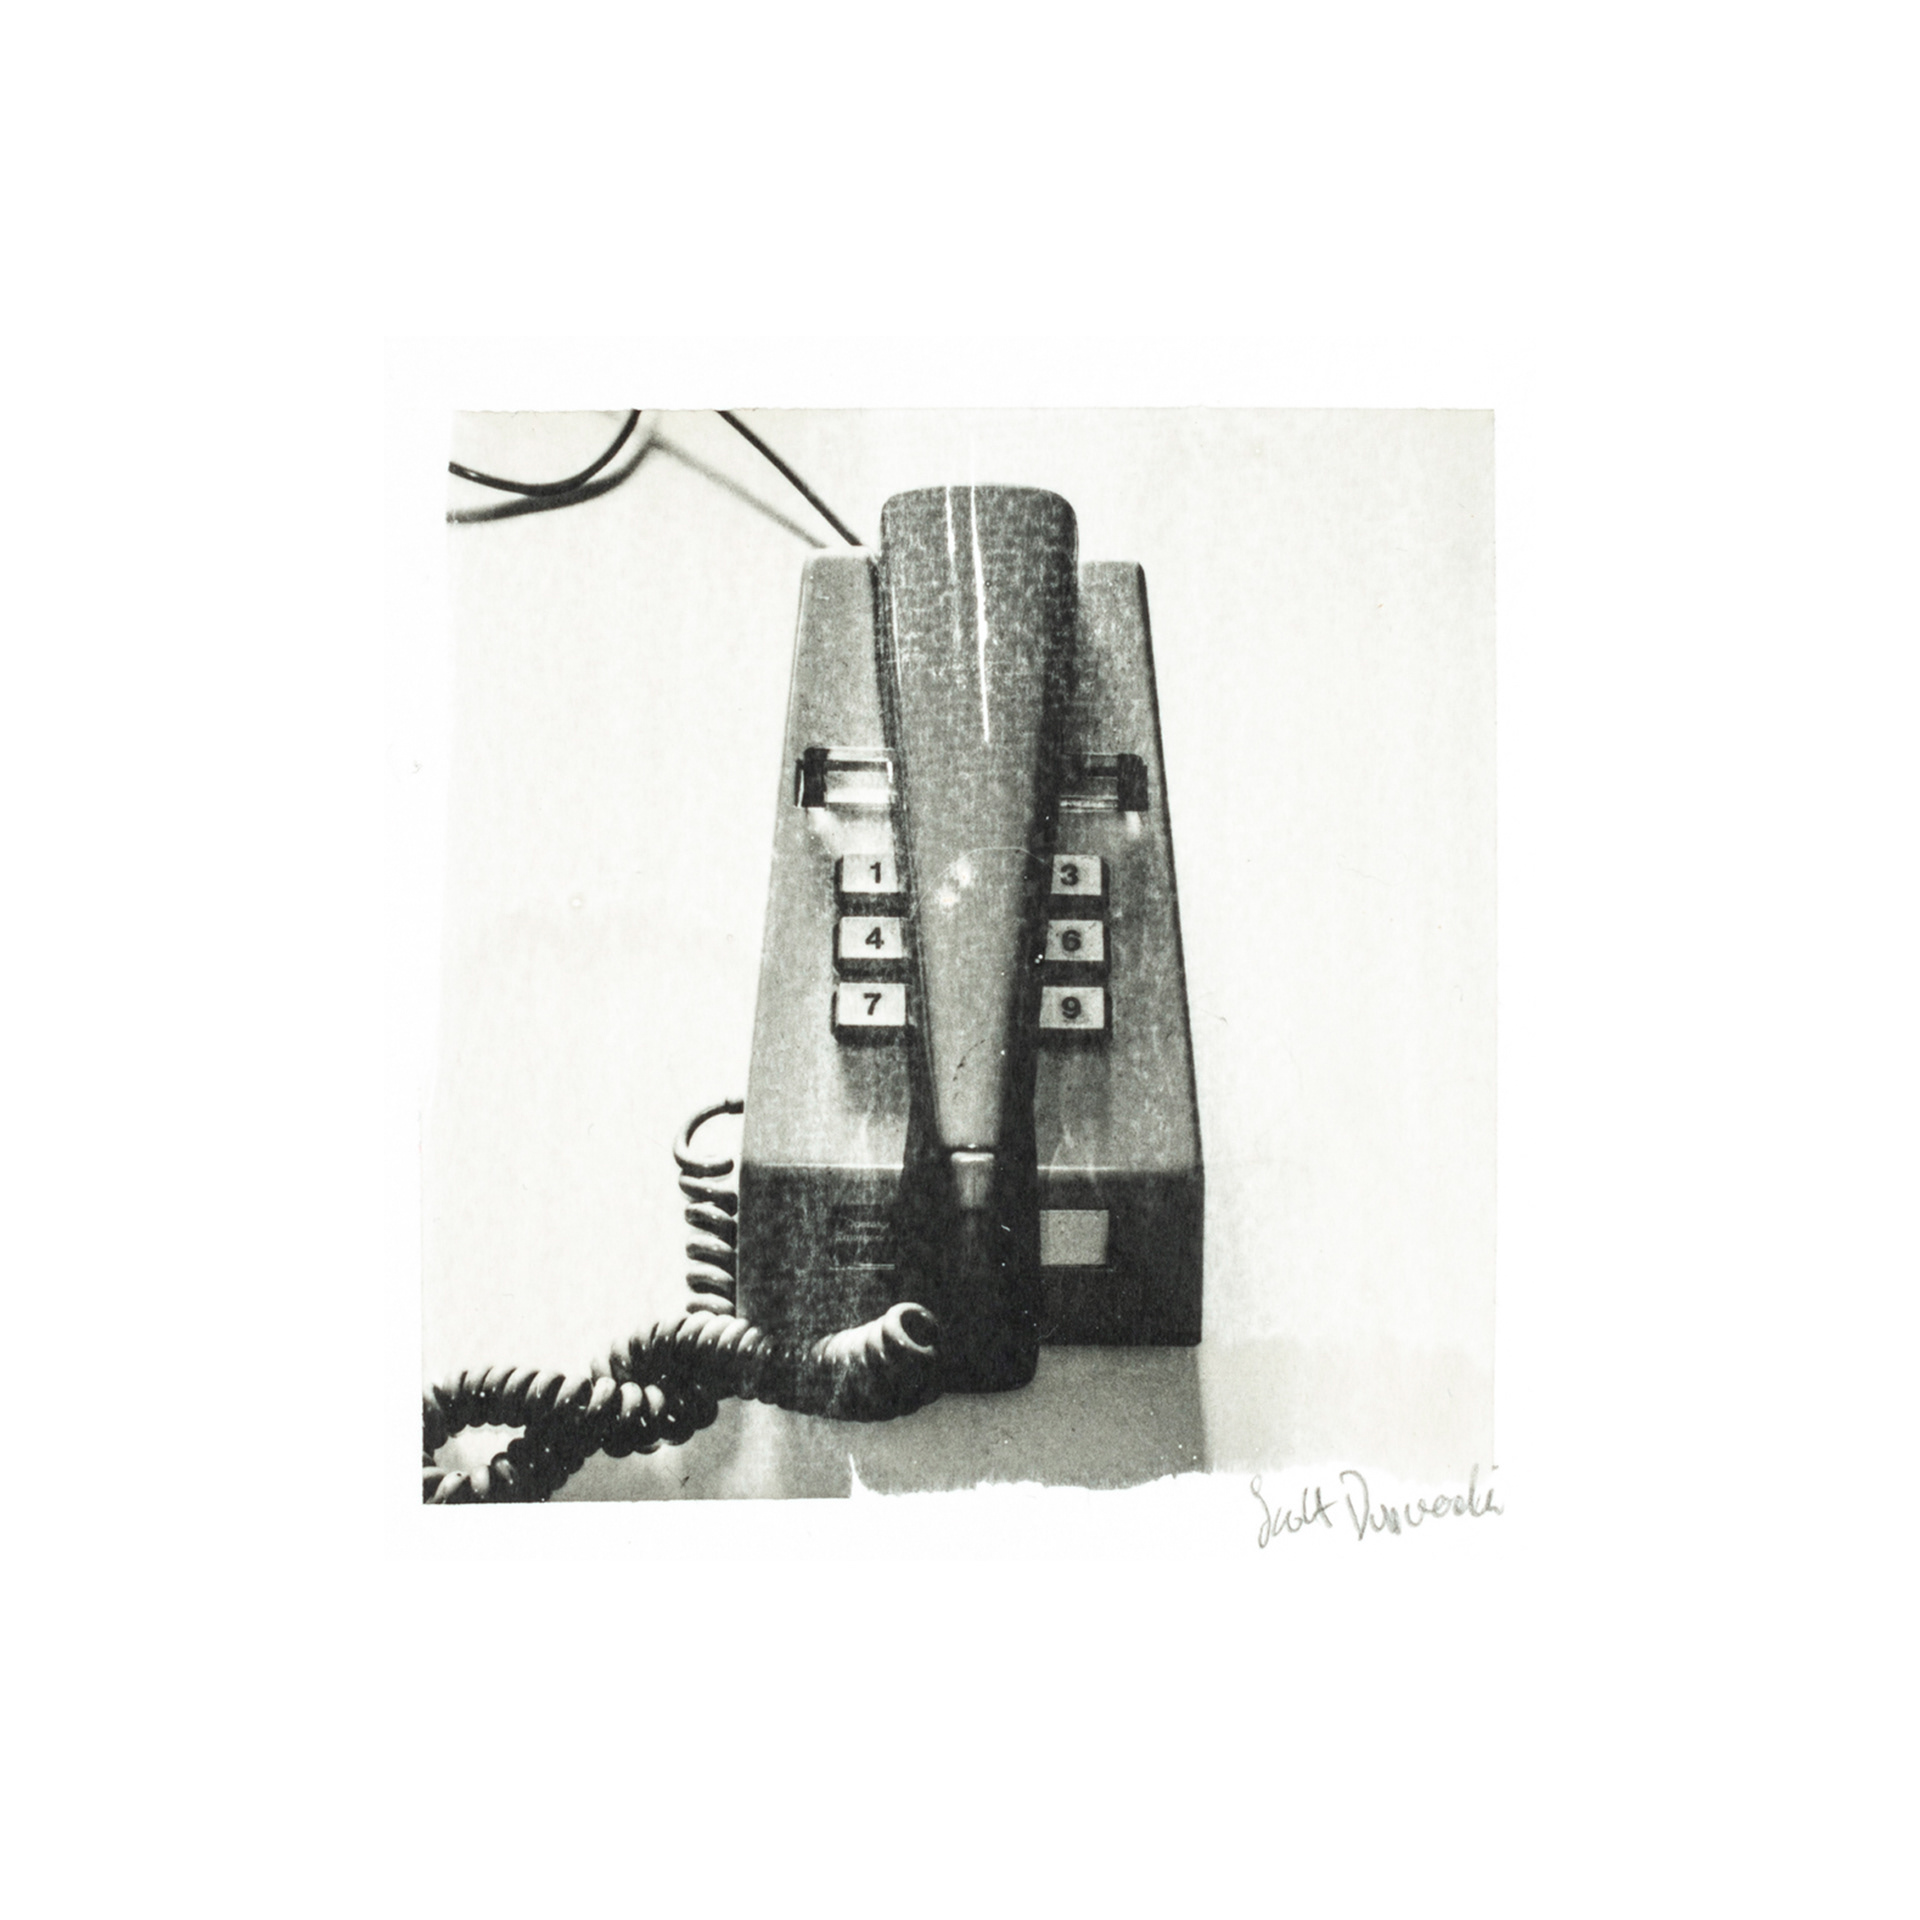
Telephone
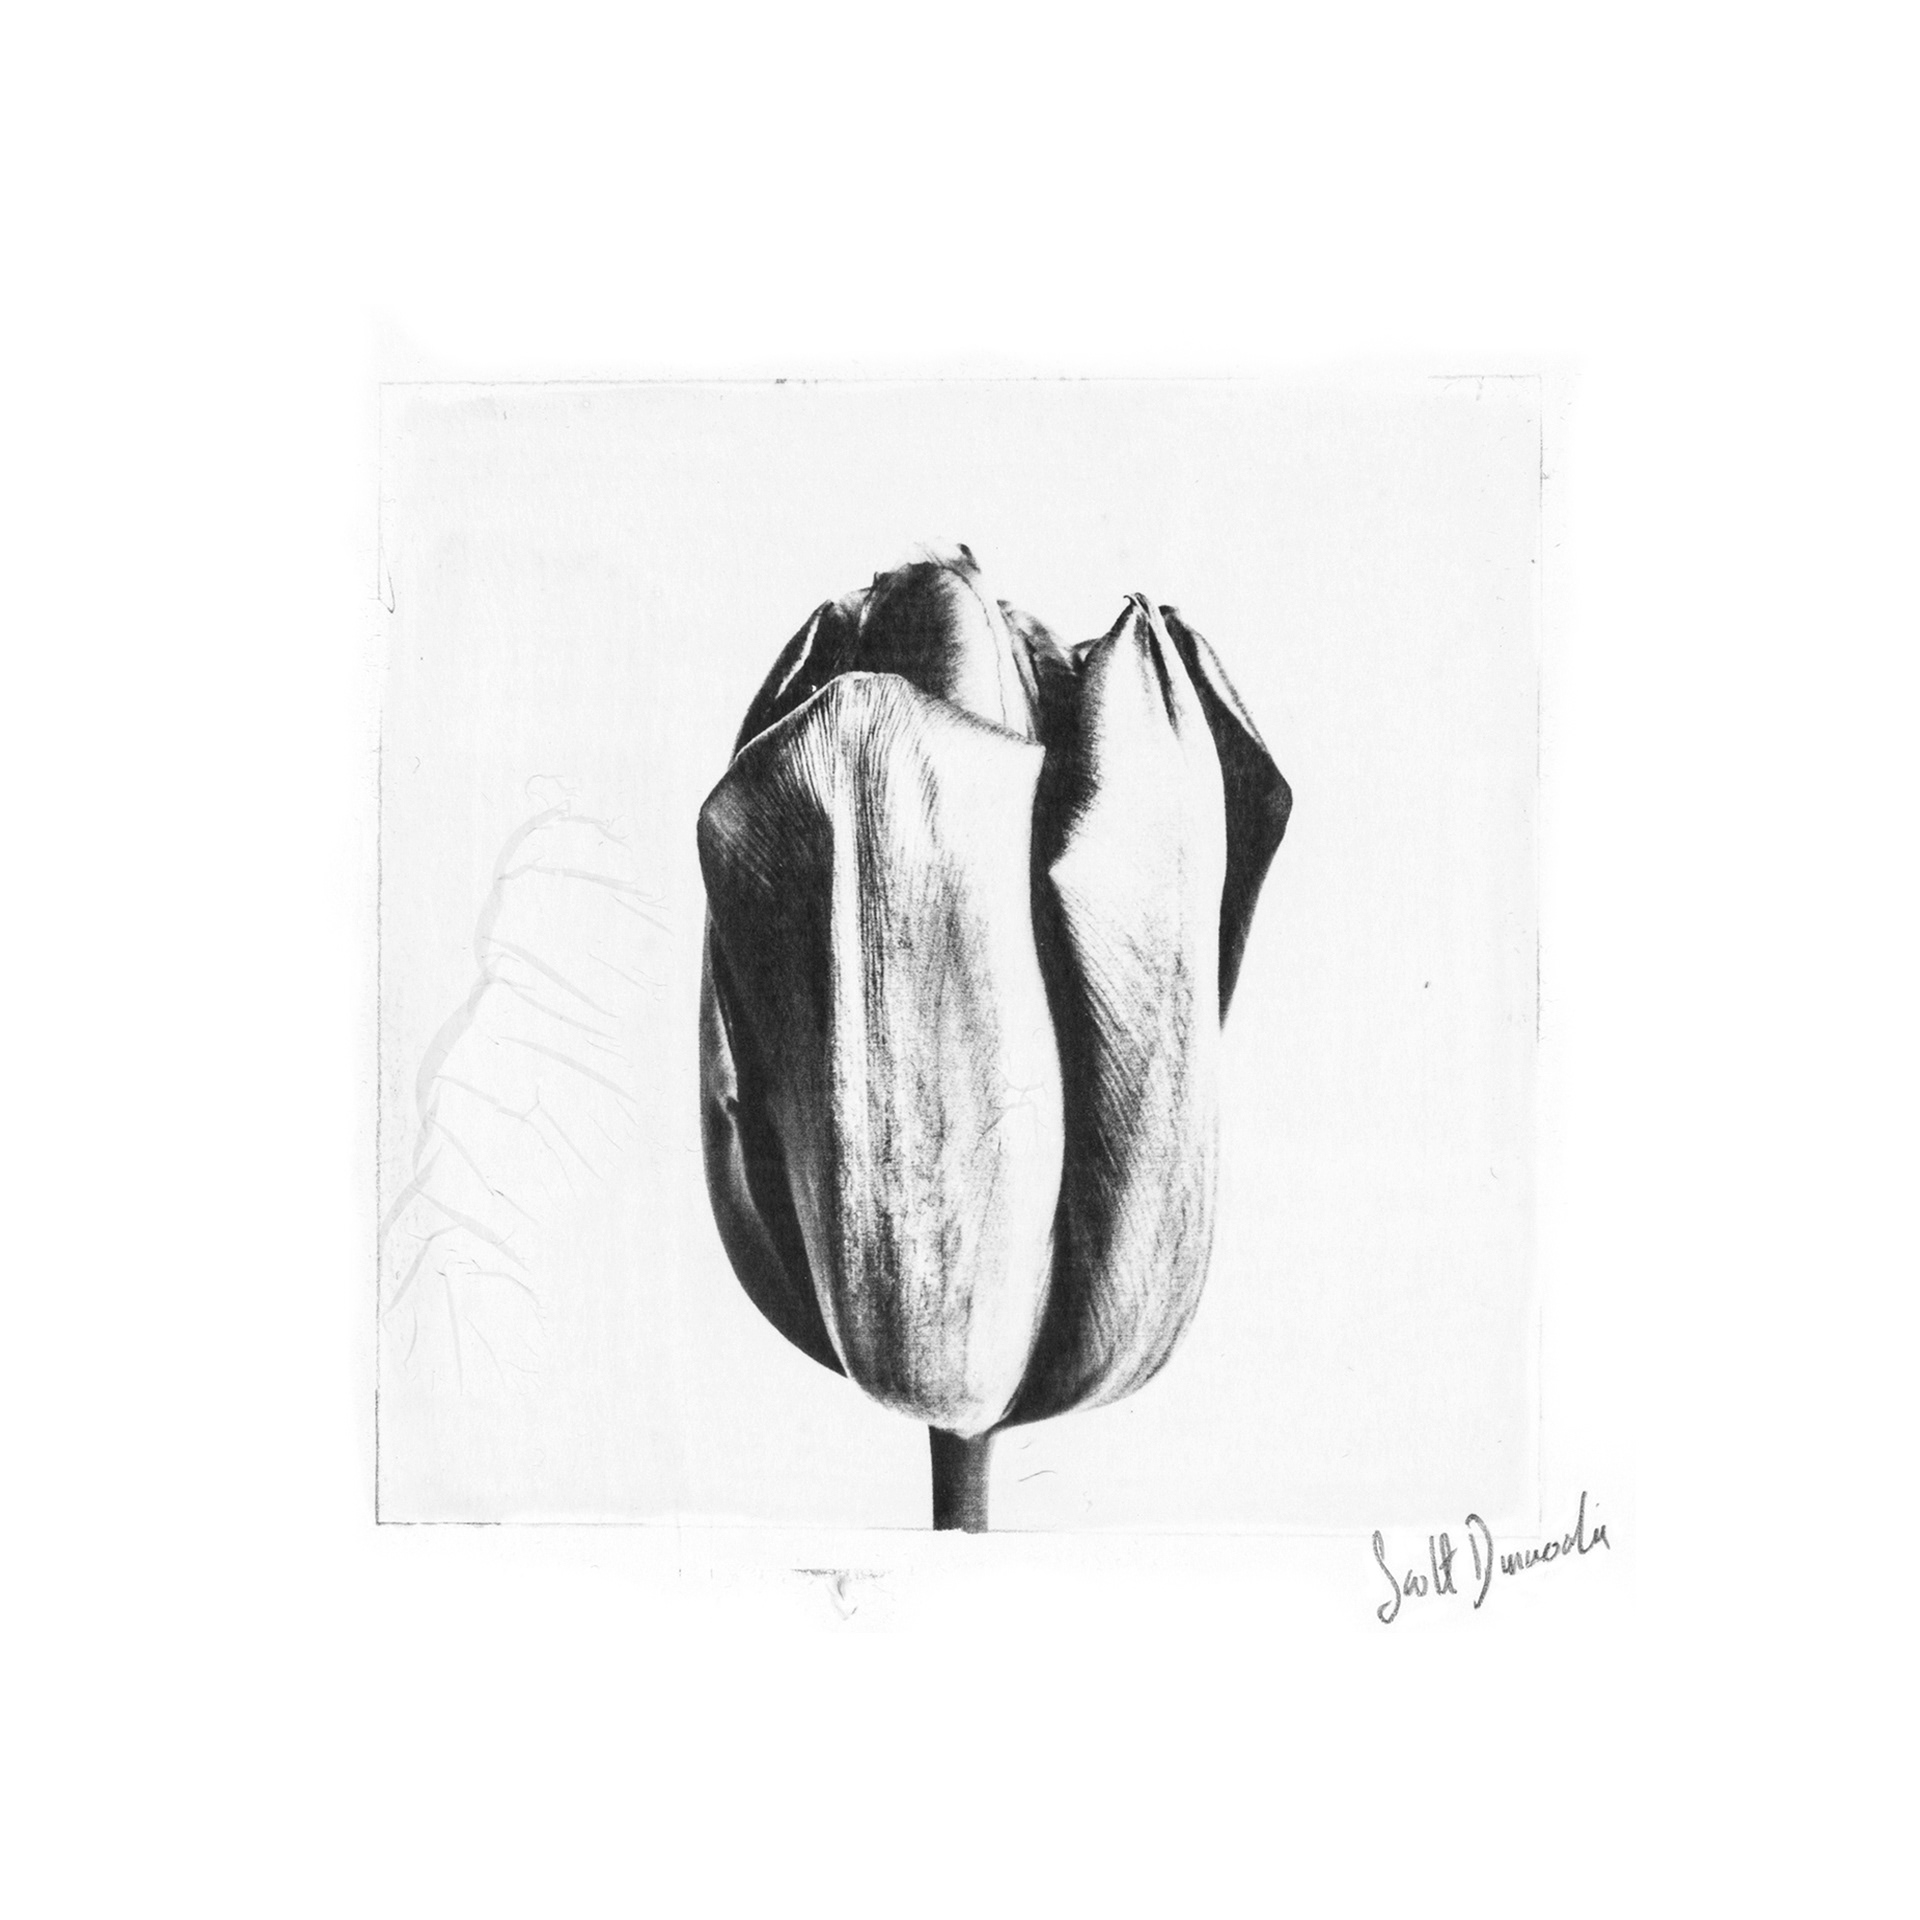
Tulip
Emulsion
The first step is to heat a portion of the solid emulsion under the safe light to a liquid form using my trusty camping stove to create a water bath.when the temp reaches 35-40 degrees the gelatin softens and suspends the silver halides* in a liquid form. A couple of drops of the hardening solution will help to strengthen the emulsion when cooled.*Silver halides are compounds of silver and halogens, such as chlorine, bromine, or iodine. When exposed to light, silver halides decompose and form metallic silver. This metallic silver is what creates the image in a photograph.
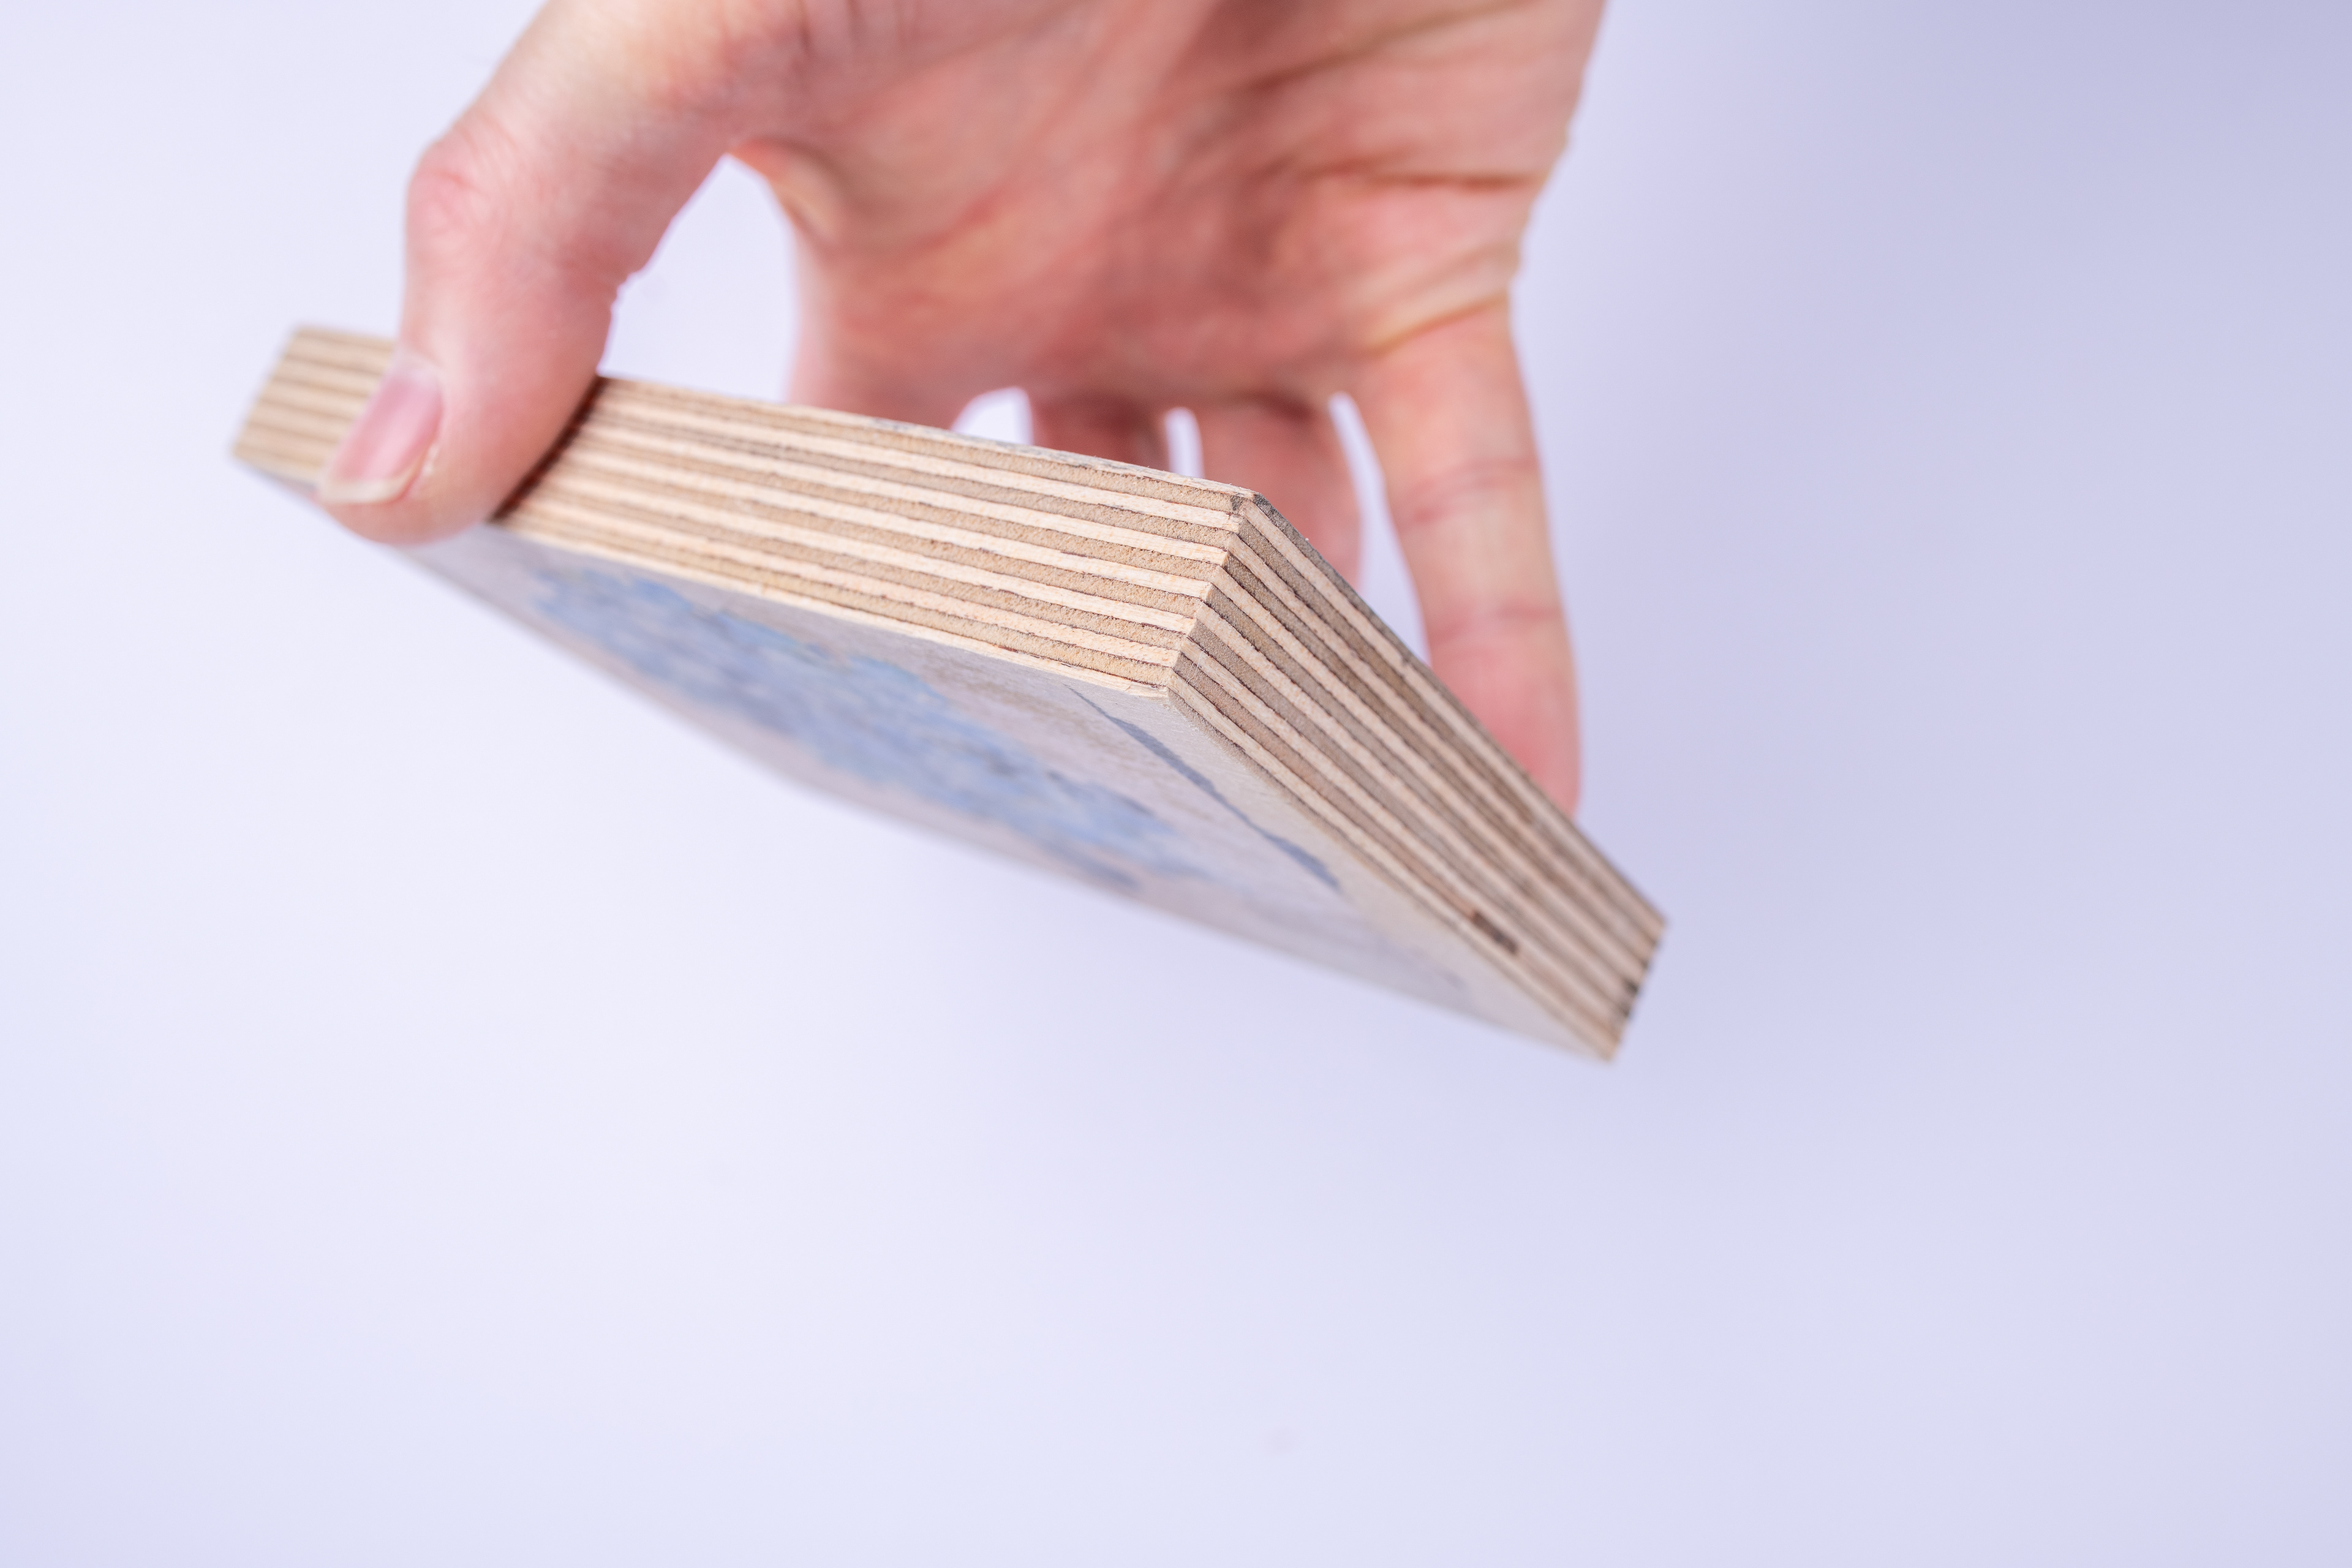
Now I can apply the emulsion to any substrate usually water colour paper within the pre drawn markings on the paper that are equal to the size of the negative I am using. Careful controlled brush strokes are needed to apply a clean finish working relatively quickly as the liquid soon looses its viscosity when cooling begins and it becomes thicker and more difficult to work with.
It’s good practice to make up extra solution to coat some paper off cuts as test strips.
The negatives I use are created from a digital image converted using a method championed by Dan Burkholder incorporating a photoshop template with an adjustable ‘curve” by which you can alter the contrast to make sure you are achieving a full dynamic range. It's rather tedious/technical to go into too much detail now. The photo black ink that I have in my printer which will increase the maximum density too. Without upsetting the film purists among you as It doesn't match the tonal range as analogue film.
After drying - The amount of exposure that is required for an image depends on a number of factors, including the sensitivity of the emulsion, the intensity of the light source, the density of the negative and the distance between the light source and the emulsion.
Development
Submerge the exposed print into a chemical developer, which converts the silver halides into metallic silver. The developer is a chemical that reacts with the silver halides in the emulsion. This reaction causes the silver halides to decompose and form metallic silver. The metallic silver is what creates the image in a the image.
The type of developer (and other chemicals) I use are more environmentally friendly than older sorts. After this stage the print is put into the stop bath which is made up of an acidic solution to neutralise the alkaline developer.
The fourth step in the process is to fix the image. This involves exposing the emulsion to a chemical fixer, which removes the unexposed silver halides from the emulsion. The fixer is a chemical that reacts with the unexposed silver halides in the emulsion. This reaction causes the unexposed silver halides to dissolve and be removed from the emulsion. This prevents the unexposed silver halides from developing into metallic silver and ruining the image.
Washing
The final step is to wash the image. This removes any residual chemicals from the emulsion each one I usually wash for 20 - 30 mins.
Handprinted
Combining digital technology and classic darkroom techniques where the magic of light-sensitive material and chemistry enables the elegance of a handmade print to be achieved.
After practicing the method for several years I am still thrilled to see the image appear in the developing tray. Far from being an expert in the technique, I still encounter errors along the way but these can sometimes enhance the individuality of the print even though they are reproductions of an image, each one has a unique finish due to the hand painted element.
I enjoy the process, the experience of being in the darkroom is an escape from modern life but allows me to be productive at the same time. The subjects that I tend to print fall into themes such as Architectural aspects, and still life. Each dictated by the tonal range of the image when converted to black and white, simple graphic forms work well.
This video shows the process I use for creating handmade prints, combining digital and analogue techniques to create a unique finish for each one.